A revamp on this blog post has been a long time coming.
Mostly because I’ve had this conversation approximately 847 times (this year), and I figured it was time to stop sounding like a broken record and update my official blog post.
When you’re planning a family photography session, there are a lot of things to consider:
Where are we shooting?
How many people are being photographed?
What is the purpose of the session?
What will the weather be like?
But when we’re photographing your family on the beach, there is one question that matters more than almost anything else:
What time does the sun set?
And yes, I know that sounds like a boring question.
But I promise you, it is the difference between “OMG, I LOVE THESE!” and “Why do these look so different from the pictures on your Instagram?”
Let’s talk about why.
Golden Hour: The Good Stuff
By now you’ve probably heard the term Golden Hour before.
And yes, it really is all it’s cracked up to be.
Have you ever been driving around in the evening and suddenly everything looks warmer, softer, and more beautiful? The trees are glowing, everything has that gorgeous golden color, and you just get that inexplicable happy feeling?
Maybe that’s just me because I am obsessed with good light.
But THAT is Golden Hour.
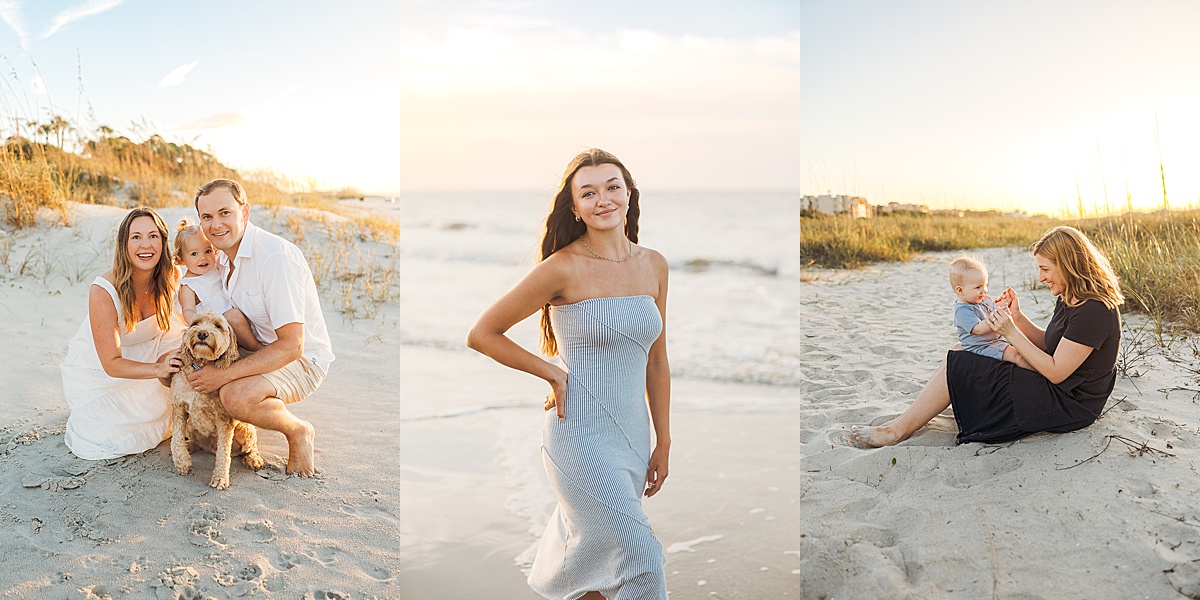
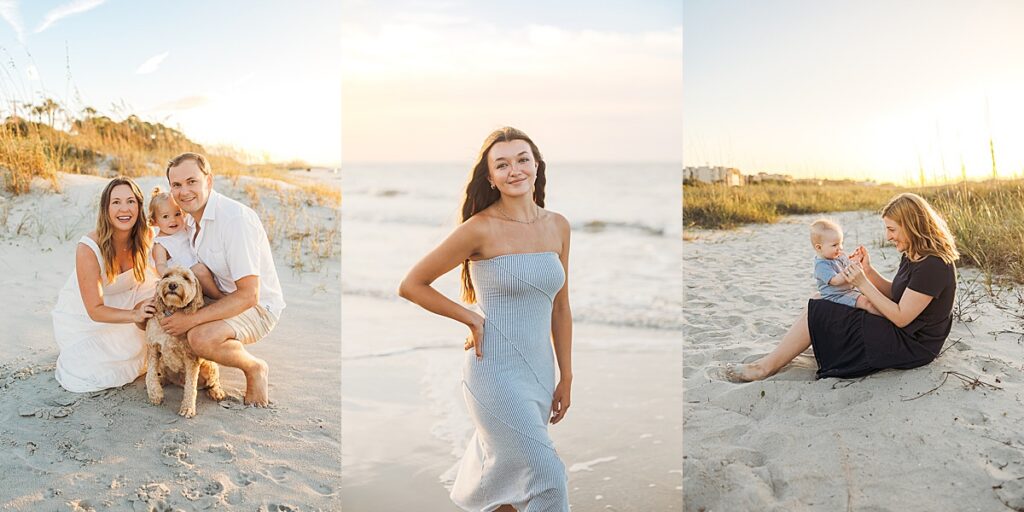
Golden Hour happens in the period leading up to sunset when the sun is lower in the sky. The light becomes softer and warmer, shadows become less harsh, and we can position your family in ways that create that dreamy, glowy look you’re probably here for.
For photographers, it’s basically magic.
Golden Hour generally begins about 2 hours before sunset, but the best light – especially on the beach – isn’t the entire Golden Hour.
And that’s where beach photography gets a little more specific.
Why I Prefer the Last Hour Before Sunset
For my beach sessions, I don’t like to start shooting more than an hour before sunset.
So, for example, if sunset is at 8:30 PM, your session would begin around 7:30 PM.
“But Elle… isn’t that really late?”
Yep. 😂
But there’s a reason.
When the sun is still high in the sky, it creates very strong, directional light. That means:
- Harsh shadows across faces
- Squinting
- Dark shadows underneath eyes and noses
- Bright highlights on skin
- Less flexibility with where we can position your family
- Fewer flattering angles
- Less opportunity to use the beach and surrounding scenery creatively
- And, during the summer, a whole lot more sweating
As the sun gets lower, all of that starts to soften.
Eventually, we get that beautiful, warm light that wraps around your family instead of blasting straight down on everyone’s faces.
And that’s the look I want for you.
What About Shooting Earlier?
This is probably the question I get the most.
“Can we do 4:00?”
Or 4:30.
Or 5:00.
Or 5:30 in the middle of summer.
And the answer is:
Technically, yes.
But there’s a really important distinction between being able to photograph you and being able to photograph you in the light you’re hiring me for.
If we shoot several hours before sunset, the sun is still very high in the sky.
That means we’re much more limited in what we can do.
We may need to position you in certain directions to avoid putting the sun directly in your eyes. We may have stronger shadows on your faces. And we simply won’t have that soft, glowy light that you see throughout my portfolio.
I can absolutely take beautiful photos earlier in the day.
But they will look different.
And I don’t want you to be surprised by that.

“But I Have Kids!”
I know.
I really do.
If you’re vacationing with a bunch of families someone is bound to have a toddler who normally goes to bed at 6:00.
And I completely understand why a 7:40 PM session sounds slightly terrifying. 😂
But here’s the thing:
Most of my families with little ones make it work.
I’ve photographed plenty of tired toddlers, cranky babies, and kids who would very much prefer to be doing literally anything other than taking pictures.
And somehow… we still get the good stuff.
They might have a meltdown.
They might need a snack break.
Someone might run away.
Someone might announce that they are DONE.
It’s okay.
That’s part of family life.
And you know what?
You won’t see most of that in your gallery. 😝
We work around it, keep things moving, let them play, and capture the moments when they’re happy and engaged.
A Few Tricks for Making a Later Session Work
If your kids are younger, there are a few things you can do to stack the deck in our favor.
Let them sleep in or nap later.
If you can push their nap a little later on the day of your session, do it!
Push bedtime a little later for a few nights beforehand.
If your trip allows for it, gradually shifting bedtime can make the later session feel much more manageable. Also keep in mind when all the little cousins get together, schedules tend to go out the window.
Use the time change to your advantage.
If you’re traveling from another time zone, your kids may naturally be awake later than usual anyway!
Don’t exhaust them at the beach all day.
This one is HUGE.
I know you’re on vacation and you want to spend every possible minute at the pool or beach.
But the sun is exhausting.
A full day of swimming + sun + heat + dinner + a late photo session can be a recipe for some very unhappy little people.
Give everyone a little downtime before your session if you can.
Sunrise Is Another Great Option
If an evening session truly isn’t going to work for your family, sunrise is an amazing alternative.
And surprisingly, it can be especially great for families with young kids.
In the summer, the sun may rise around 6:30 AM, which is when we can start photographing.
Yes, that’s early.
But if you have a toddler who is already waking up at 6:00 AM every morning anyway…
You might as well put them in cute clothes and bring them to the beach. 😂
Sunrise gives us beautiful, soft light without having to convince your toddler to stay awake until 8:30 PM.
It’s also generally quieter on the beach, which can be a huge bonus.
The Time of Year Makes a BIG Difference
One thing I always want families to remember is that sunset time changes dramatically throughout the year.
If you’re visiting in the summer, sunset might be around 8:30 PM.
That means your ideal session time could be around 7:40 PM.
But visit in October?
Sunset may be closer to 6:00 PM.
Now we’re starting around 5:15 PM.
And that’s a completely different story when you have little ones.
Sunrise changes throughout the year, too.
In October, for example, sunrise may be around 7:20 AM, which means we can start a session later than we would in the summer.
So if you’re flexible about when you visit, choosing a different time of year can actually make a huge difference in the schedule of your family vacation.
And bonus: October also means cooler temperatures, gorgeous light, and you don’t have to deal with quite as much of the summer chaos. 😉
So… Can We Just Shoot at 6:00?
If you’ve read all of this and you’re still thinking:
“Elle, I hear you. But 6:00 PM is literally the only time that works for us.”
Okay!
I’m not going to tell you that you can’t.
Ultimately, the decision is yours.
If you need an earlier session, I will absolutely photograph your family in the middle of the day.
I just want you to understand what you’re choosing.
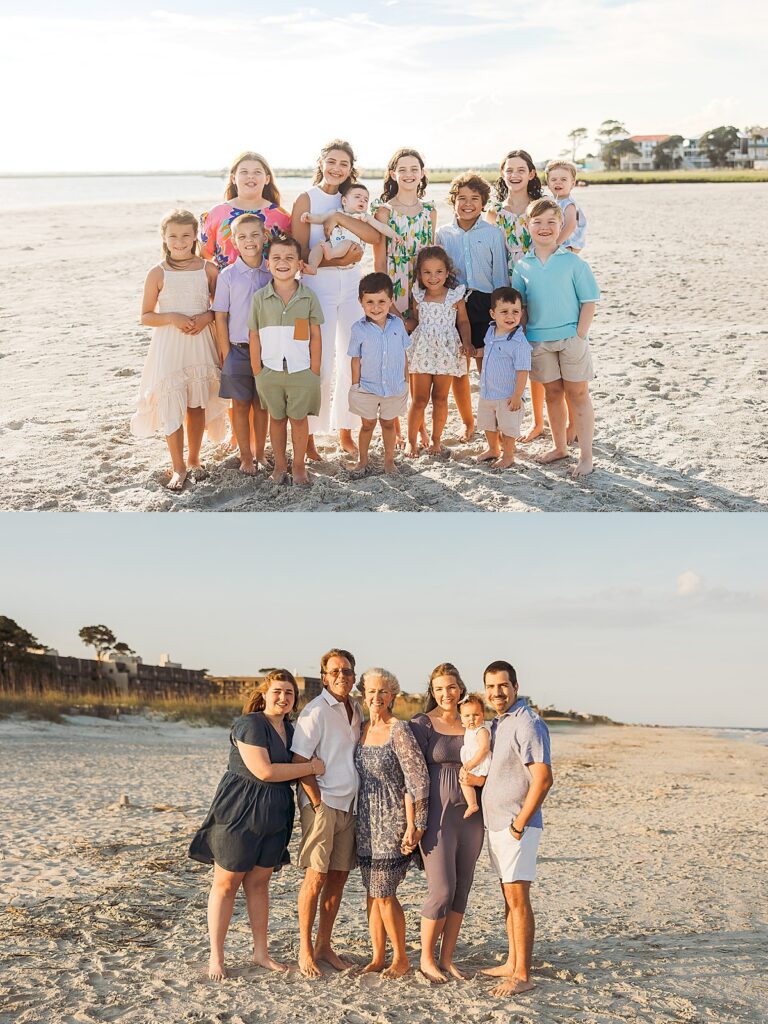
If we photograph your family more than an hour before sunset, we won’t have the same soft, golden light that you see in my portfolio. We’ll have more challenging shadows, stronger sunlight, more squinting, and fewer options for positioning your family.
And there’s only so much I can control with my camera when the sun is that bright.
I’m Not Trying to Make Your Life Difficult
I promise.
I know that a late-night family photo session isn’t always convenient.
But family portraits are an investment, and my job isn’t just to take technically good pictures.
My job is to create the kind of images that made you want to hire me in the first place.
The soft light.
The warm glow.
The beautiful beach.
The giggling kids.
The snuggles.
The wind in your hair.
The images that feel like your family on vacation, not just a lineup of everyone staring at the camera.
That’s why I care so much about your session time.
So when I recommend that we start an hour before sunset, it’s not because I’m trying to make your bedtime routine harder.
It’s because I want you to LOVE your photos.
And if you’re willing to trust me with the timing, I promise I’ll do everything I can to make the rest of the session fun, relaxed, and worth staying up a little late for.
This is the site I use to plan sunrise & sunset times: https://www.timeanddate.com/sun/@12110793
Read Post

Discover the Hidden Gem: Honey Horn at Coastal Discovery Museum for Your Next Photography Session
When most people think of Hilton Head Island, their minds instantly drift to the sandy beaches and ocean waves. While the beach is undeniably a beautiful spot for photography sessions, there’s a hidden gem that offers a fresh, unique backdrop: Honey Horn at the Coastal Discovery Museum.
Why Choose Honey Horn?
Honey Horn is a 68-acre cultural and natural treasure trove located on Hilton Head Island. Unlike the beach, which is often bustling with sunbathers and swimmers, Honey Horn offers a tranquil escape, rich in both history and natural beauty. Imagine capturing your subjects surrounded by centuries-old live oaks draped in Spanish moss, or standing beside a charming butterfly garden bursting with vibrant colors. The variety of settings here can transform an ordinary photo session into an extraordinary experience.
Versatility in Every Corner
One of the most exciting aspects of Honey Horn is the diversity of environments within a single location. Whether you’re looking for rustic wooden buildings, expansive salt marshes, or lush gardens, Honey Horn has it all. The peaceful tidal creek, with its reflective waters and serene ambiance, can serve as a stunning backdrop for more intimate shots. If you’re after a whimsical, storybook vibe, the woodland trails and butterfly enclosures will deliver just that.
Seasonal Splendor
Honey Horn’s appeal changes with the seasons, offering photographers a dynamic canvas throughout the year. In spring, the gardens come alive with blooms that pop in photos, while summer brings lush greenery and bright sunshine. The golden hues of autumn create a warm, nostalgic atmosphere perfect for family portraits, and even in winter, the ever-present Spanish moss and evergreen trees ensure your photos are never dull.
Less Crowded, More Personal at Honey Horn
Let’s face it: the beach can get crowded, especially during peak seasons. Honey Horn, however, remains a peaceful sanctuary, providing a more intimate setting where you can take your time without worrying about interruptions. This relaxed atmosphere allows both the photographer and subjects to feel more at ease, resulting in natural, authentic shots that truly capture the moment.
A Unique Story to Tell
Photographs taken here tell a different story than those from the beach. They evoke a sense of timelessness, connectedness to nature, and an appreciation for the island’s rich history. Whether you’re shooting engagement photos, family portraits, or even commercial photography, Honey Horn adds an element of sophistication and depth that is both refreshing and memorable.
Make Your Next Photography Session Unforgettable
Next time you’re planning a photography session on Hilton Head Island, consider stepping away from the sandy shores and exploring the beauty of Coastal Discovery Museum. Your clients will love the unique experience, and you’ll capture stunning images that stand out from the crowd. Please note there is an additional $60 photography fee to photograph here that will be added on to your final invoice.
Check out their full website HERE.


Interested in some of my other favorite locations? Check out my full location guide HERE.
Read Post

Morgan and Parker braved the winter chill for their sunrise maternity session at the beach, and the results were nothing short of magical. The soft morning light, combined with their elegant attire, created stunning images that they’ll cherish forever. While winter beach sessions might seem daunting, with a bit of preparation, they can be just as enchanting as those in warmer months.

Embracing the Elements
To keep warm during the shoot, we encouraged Morgan and Parker to stay active. Gentle movements like walking hand-in-hand along the shoreline and sharing warm embraces not only kept them comfortable but also added a natural, candid feel to the photos. Between shots, hand warmers were a simple yet effective way to maintain warmth.
Elevating the Aesthetic with Elegant Attire
Morgan’s formal dress and Parker’s sweater & khakis outfit added a touch of sophistication to the session. Opting for more formal attire can elevate the overall look of beach photos, creating a timeless and elegant feel. For those planning a winter beach photoshoot, consider outfits that complement the serene coastal backdrop. Light, flowy fabrics in whites, pastels, neutrals, and soft blues harmonize beautifully with the ocean’s natural colors.
The Allure of Winter Beach Sessions
Winter beach sessions offer unique advantages. The beaches are often less crowded, providing a serene and intimate setting. The cooler temperatures can also result in softer, more flattering sunrise light as long as we start early enough. With the right attire and a bit of movement, staying warm becomes manageable, allowing for a comfortable and enjoyable experience.
Tips for Planning Your Winter Beach Maternity Session
•Layer Up: Incorporate chic layers like cozy cardigans, stylish scarves, light sweaters, and trendy jackets to stay warm without sacrificing style. Pittsburgh photographer Jenna Hidinger did an AMAZING job outlining some tips here.
•Accessorize Thoughtfully: Hats, scarves, mittens, and boots not only provide warmth but also add visual interest to your photos.
•Choose the Right Colors: Opt for jewel tones or earthy colors like maroon, dark purple, green, teal, navy, black, brown, tan, gray, or olive. These hues complement the winter beach setting and ensure you remain the focal point of the images.
•Stay Active: Engage in gentle movements such as walking, swaying, or cuddling to keep warm and create natural, candid moments.
Discovering the Perfect Sunrise Spot on Hilton Head Island
For those considering a sunrise session on Hilton Head Island, Folly Field Beach Park is a hidden gem. Known for its tranquil environment and breathtaking sunrise views, it’s an ideal location for capturing those first light moments.
Planning a sunrise maternity session at the beach during winter may require some extra considerations, but as Morgan and Parker’s experience shows, the results can be truly rewarding. With thoughtful preparation and the right mindset, your winter beach photos can be as warm and captivating as any summer shoot.
Note: Always check local guidelines and weather conditions when planning your photoshoot to ensure a safe and enjoyable experience.
Here are some other posts that may be helpful with planning your upcoming session!
Read Post

Deciding on a gallery delivery program can be a little intimidating! To be honest, they’re all generally the same, but some are more robust or comprehensive than others, some are more user friendly on the backend, some are easier to navigate than others, but at the end of the day they all deliver photos.
After experimenting with a few different gallery hosts I decided to go with CloudSpot because of their ease of use for me and my clients and I just liked how it looked aesthetically.
Setting up your brand and email preferences is pretty easy, but the nitty gritty details lay in the gallery settings themselves!
The Difference Between Collections, Folders, and Galleries
So you had a super awesome session, and you want to upload it to CloudSpot. It’s now considered a “collection”. Collections are useful if you will have multiple sessions with the same client, OR multiple clients with the same session. The Lawson family has been coming to me since 2019. Inside the Lawson Family Collection, there are 11 folders, one for each of their sessions with me. I can easily create ONE gallery that includes whatever folder I’d like inside this collection. This one gallery is able to see every image inside this collection because I have included every folder.
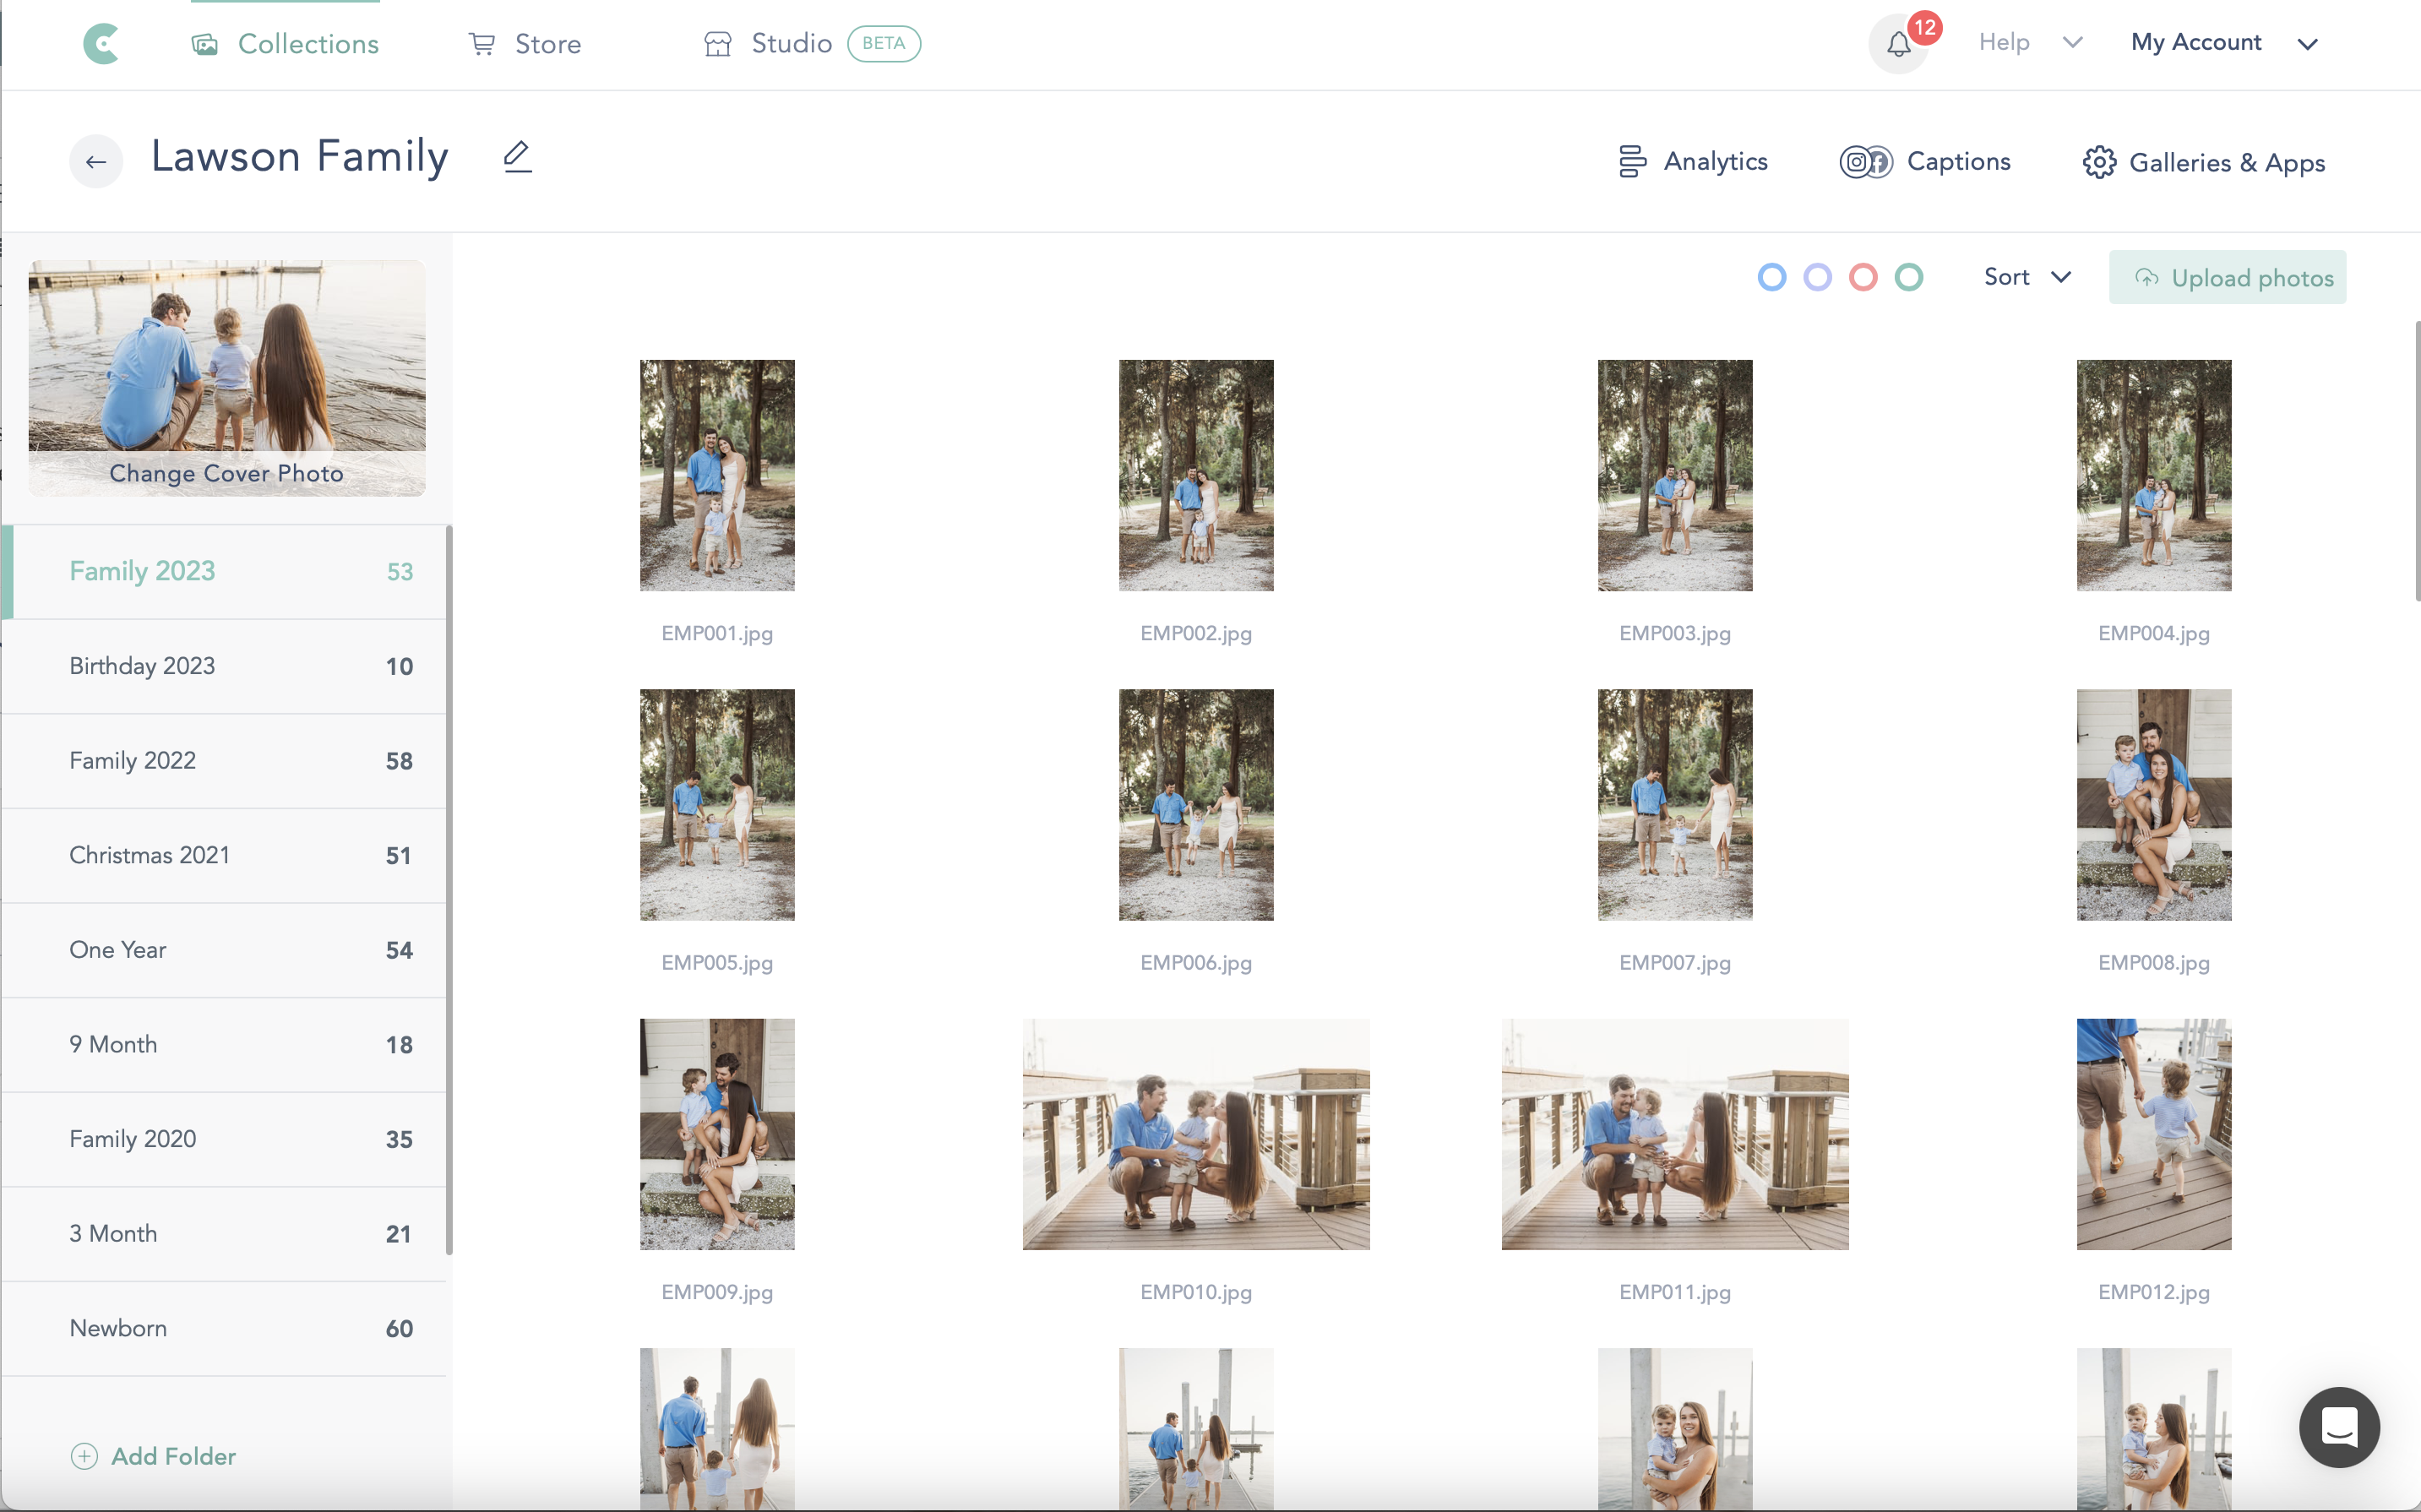
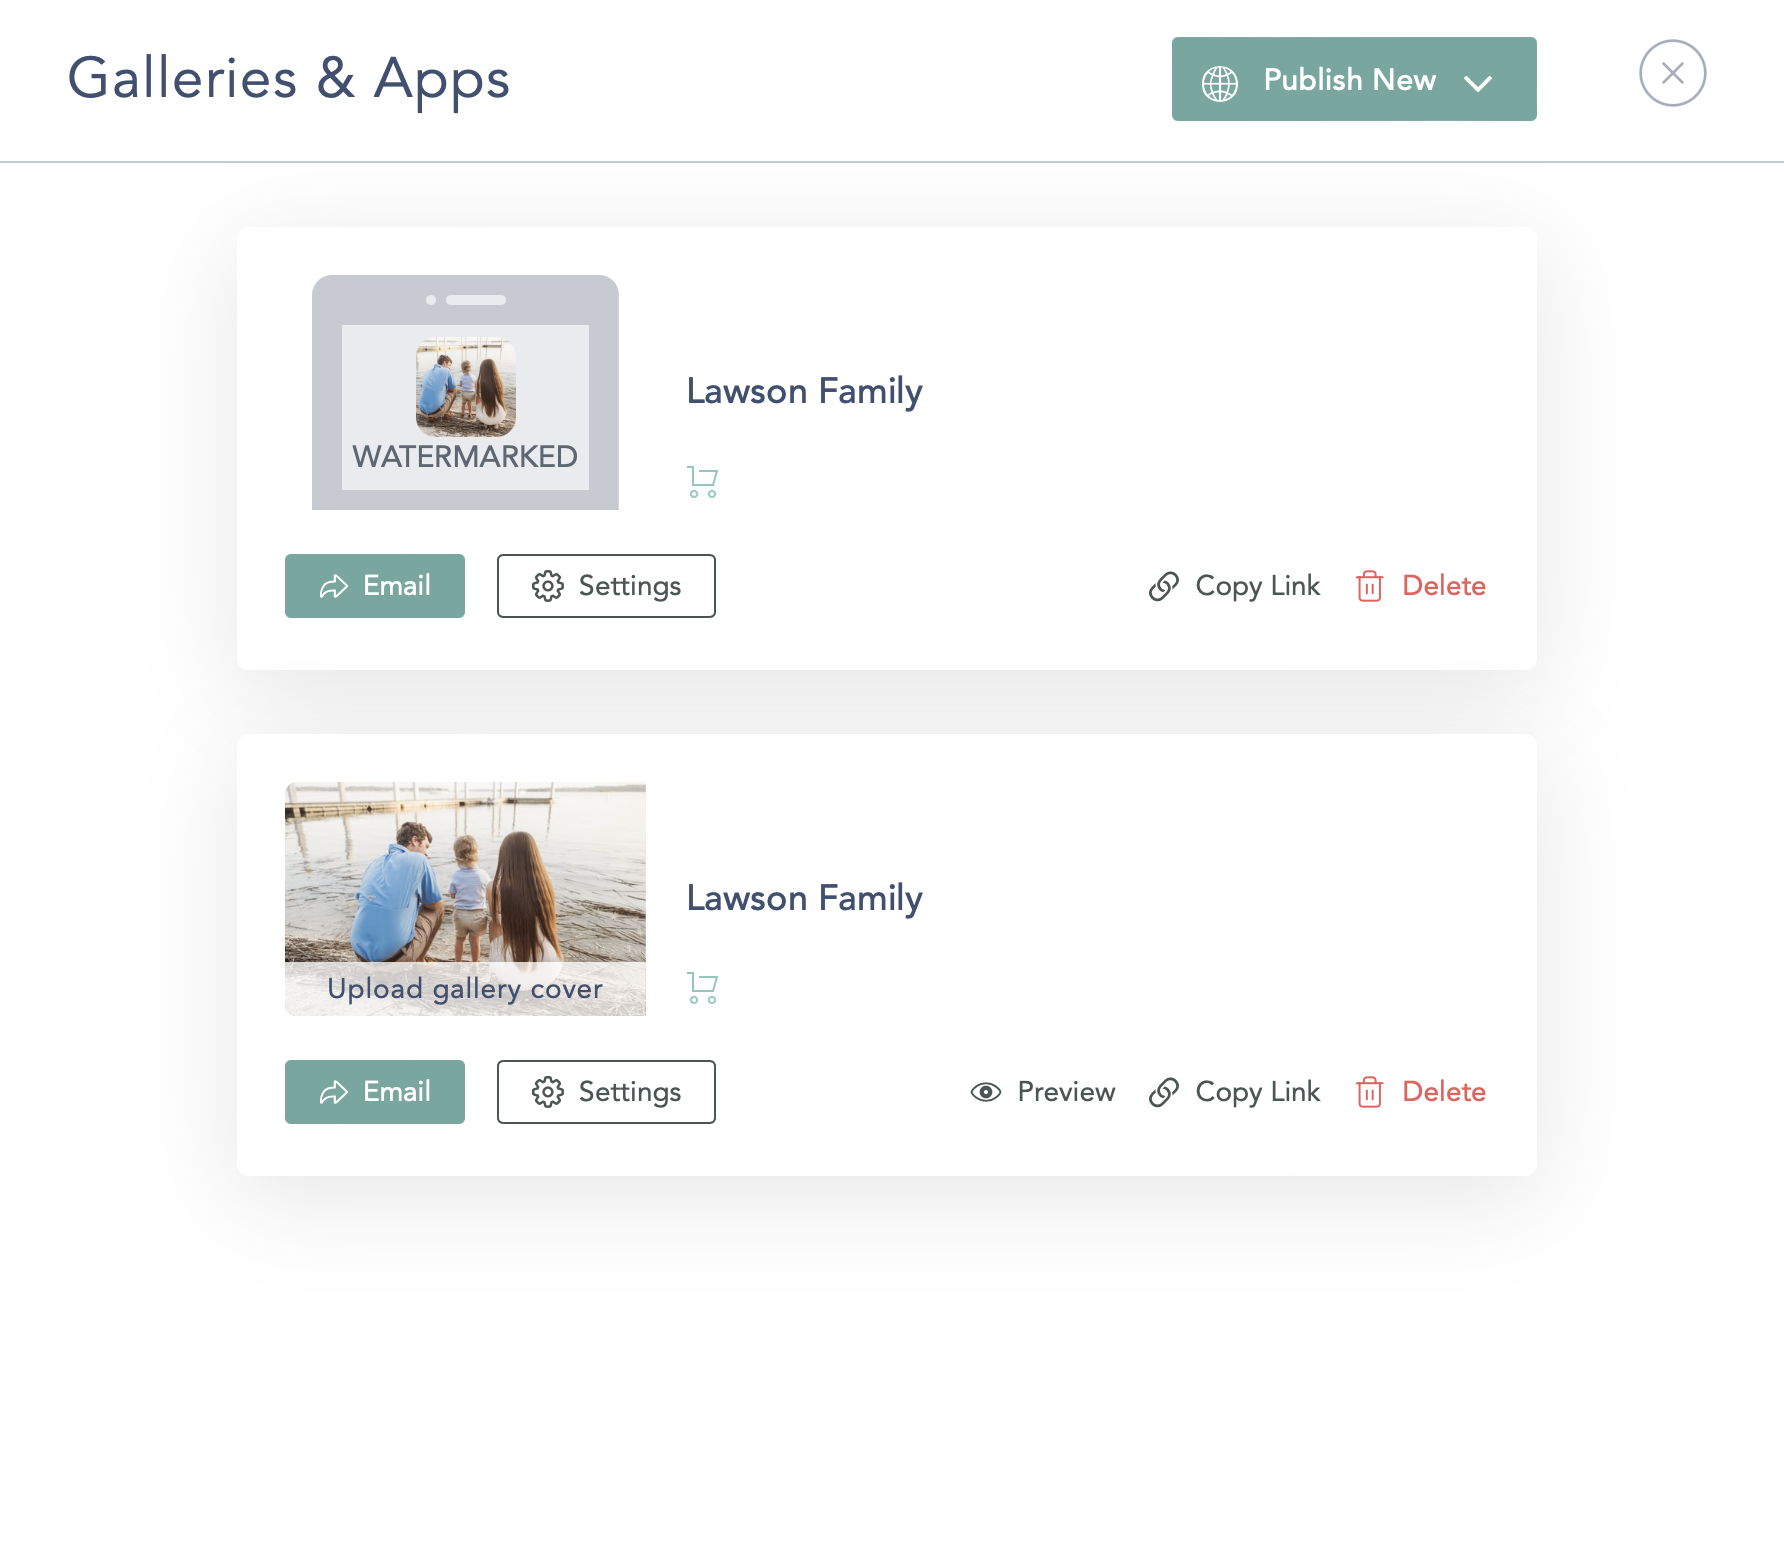
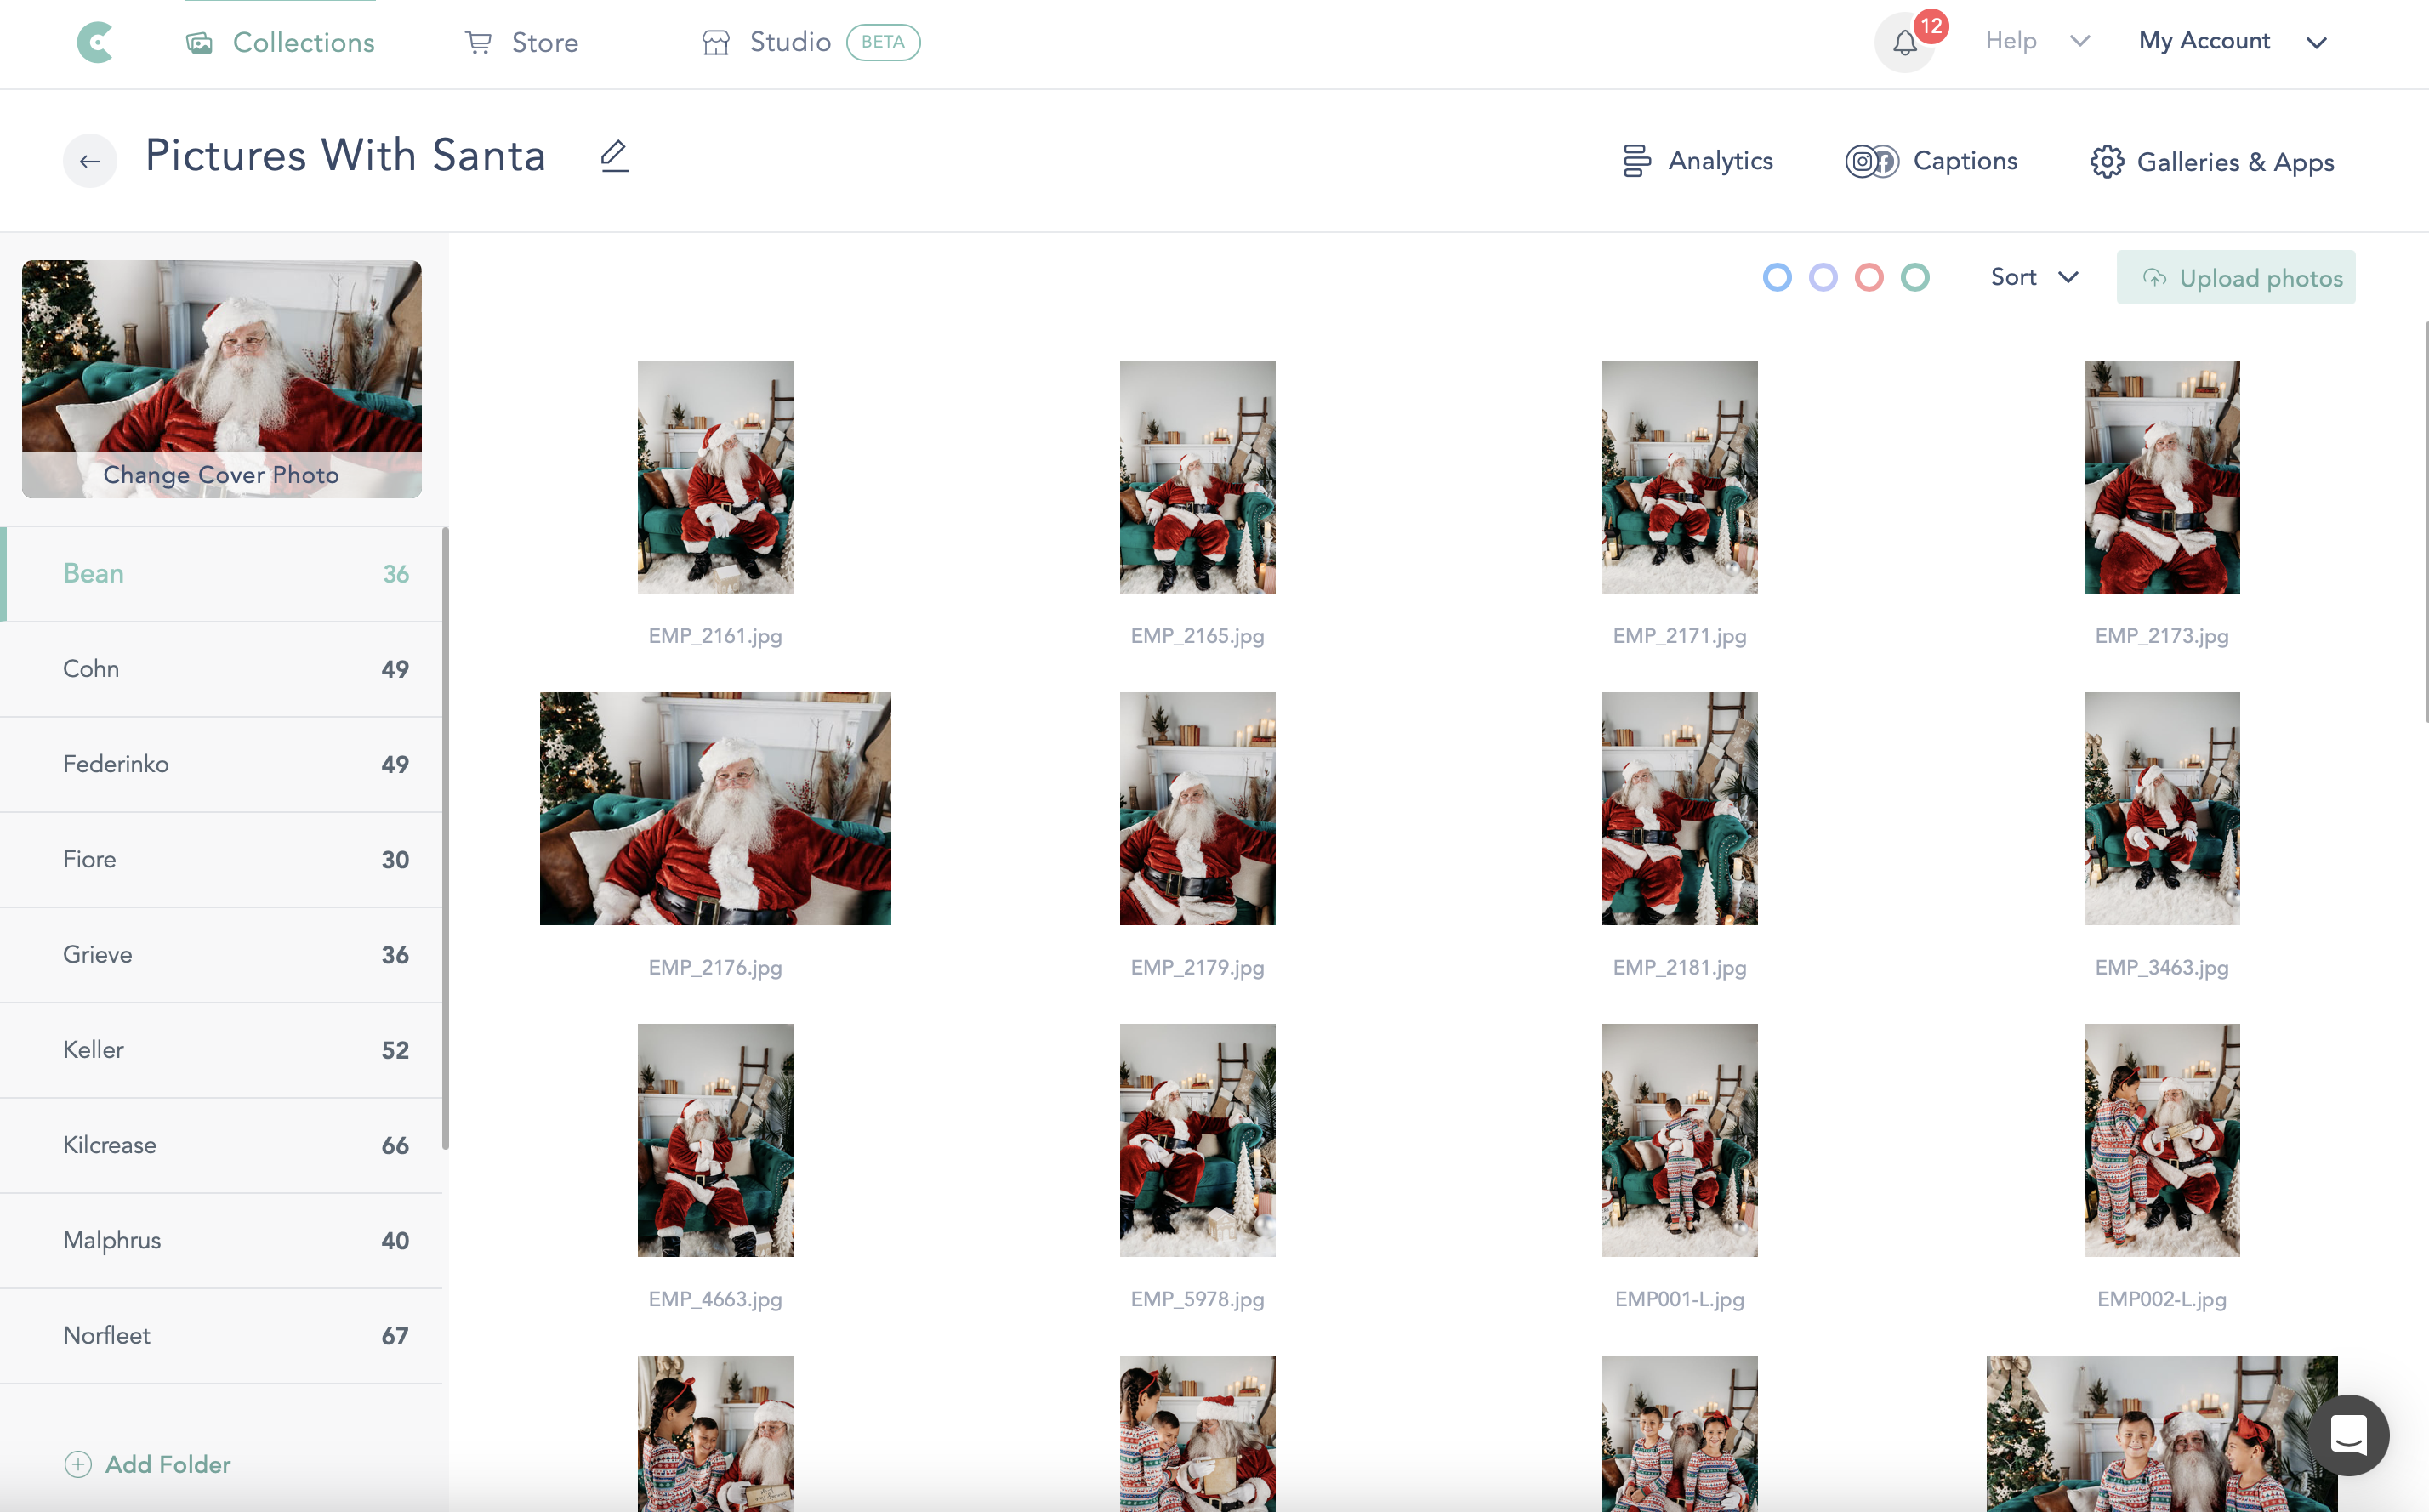
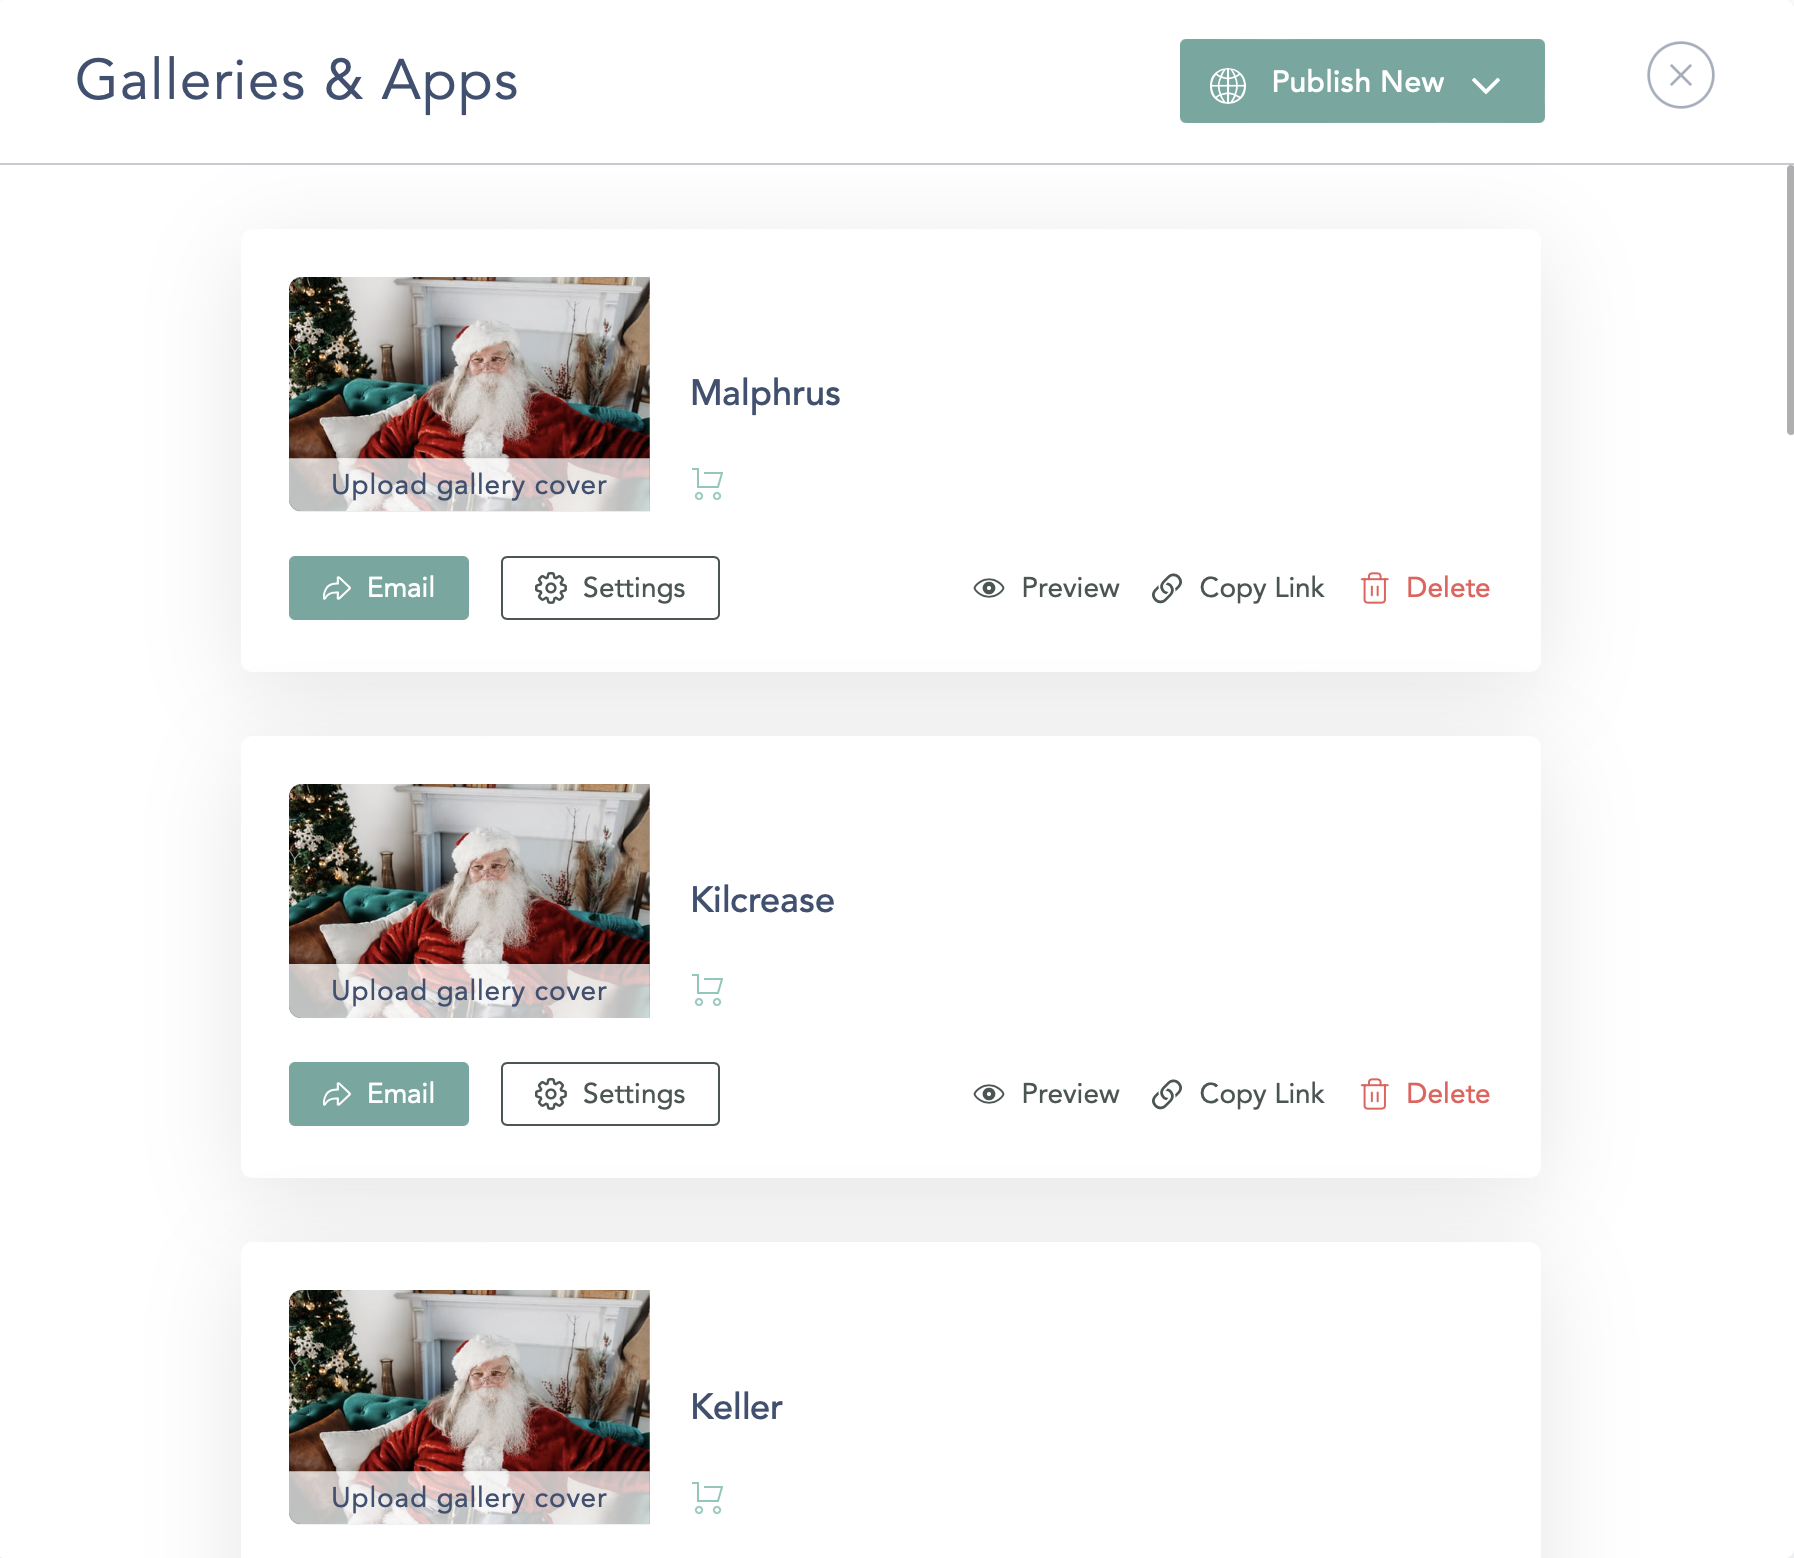
The other way Collections come in handy is when you have mini sessions and want to keep them under one name. In this case with my santa minis, I have one collection for all the santa pictures and organize them into folders by family name. I then create one gallery for each family so that they only see their own pictures.
General Settings
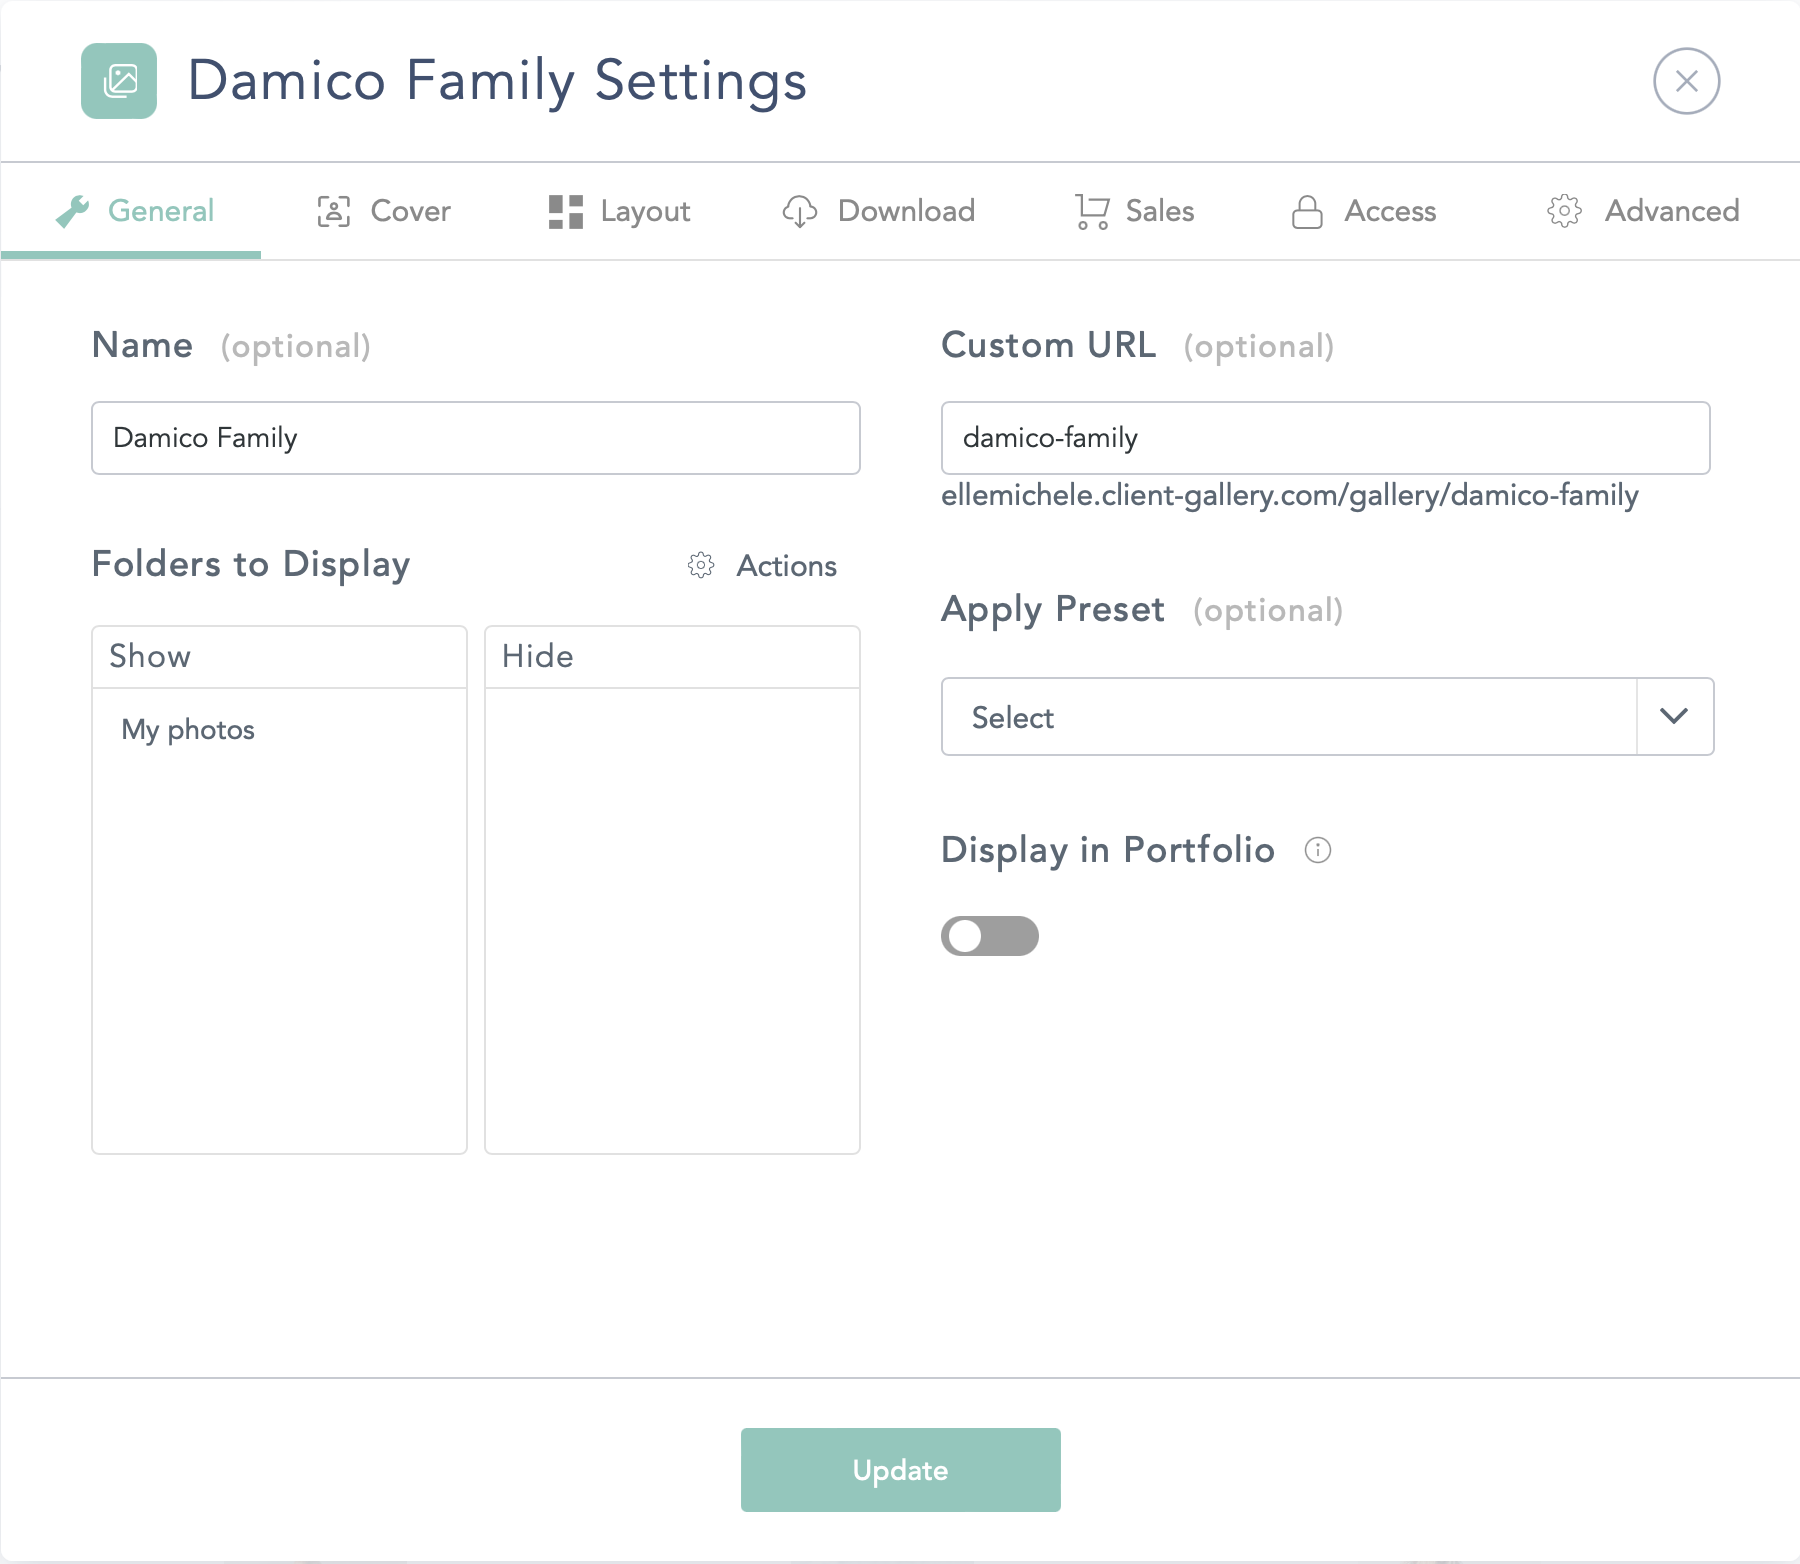
Now into the more specific gallery settings. When you go to create a new gallery, this is what your first page of the pop up will look like.
I name my galleries after the Family name and/or type of session. Sometimes Galleries may be called “Anna Graduation” or “Haley + Friends”. You can rename galleries anytime you want (in case you notice a typo or got the family name wrong).
I let the custom URL populate on its own and never change it because this will break any previous links your clients have been sent to this gallery.
I make sure the folders that I want shown or hidden are accurate and I don’t like to display regular galleries in my portfolio.
Since I use the same settings for all my galleries, I have a preset saved called “Full Gallery”.
Cover Options
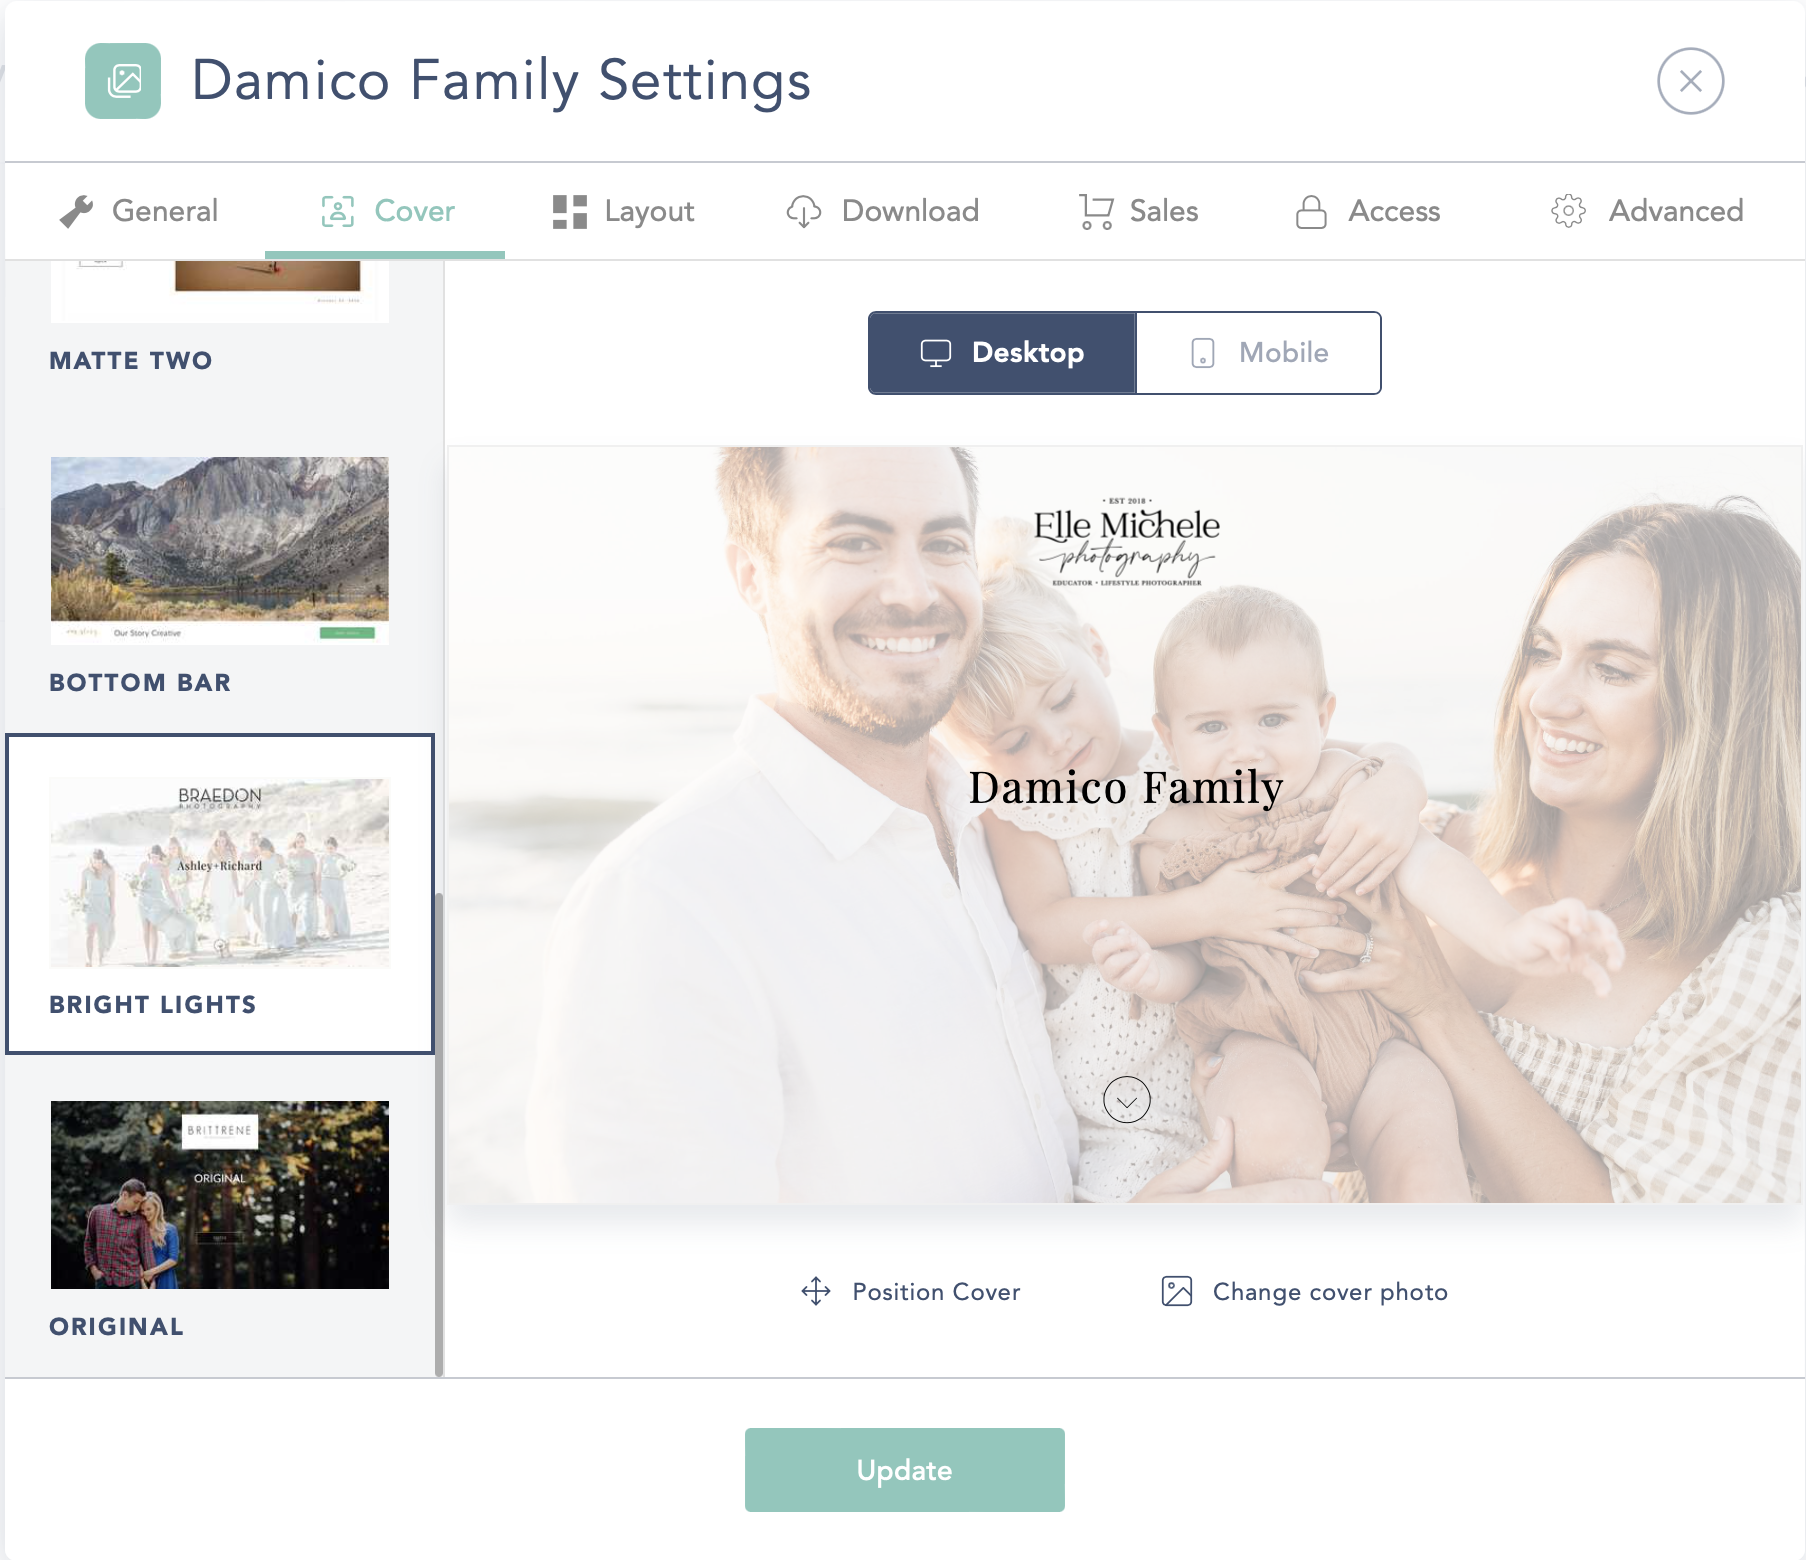
There are lots of options, but I prefer the Bright Lights (all the way at the bottom) and I don’t usually change the automatic settings or position. To set the cover option from one of the images you uploaded, just drag & drop it in the collection’s main window.
Customizing the Layout
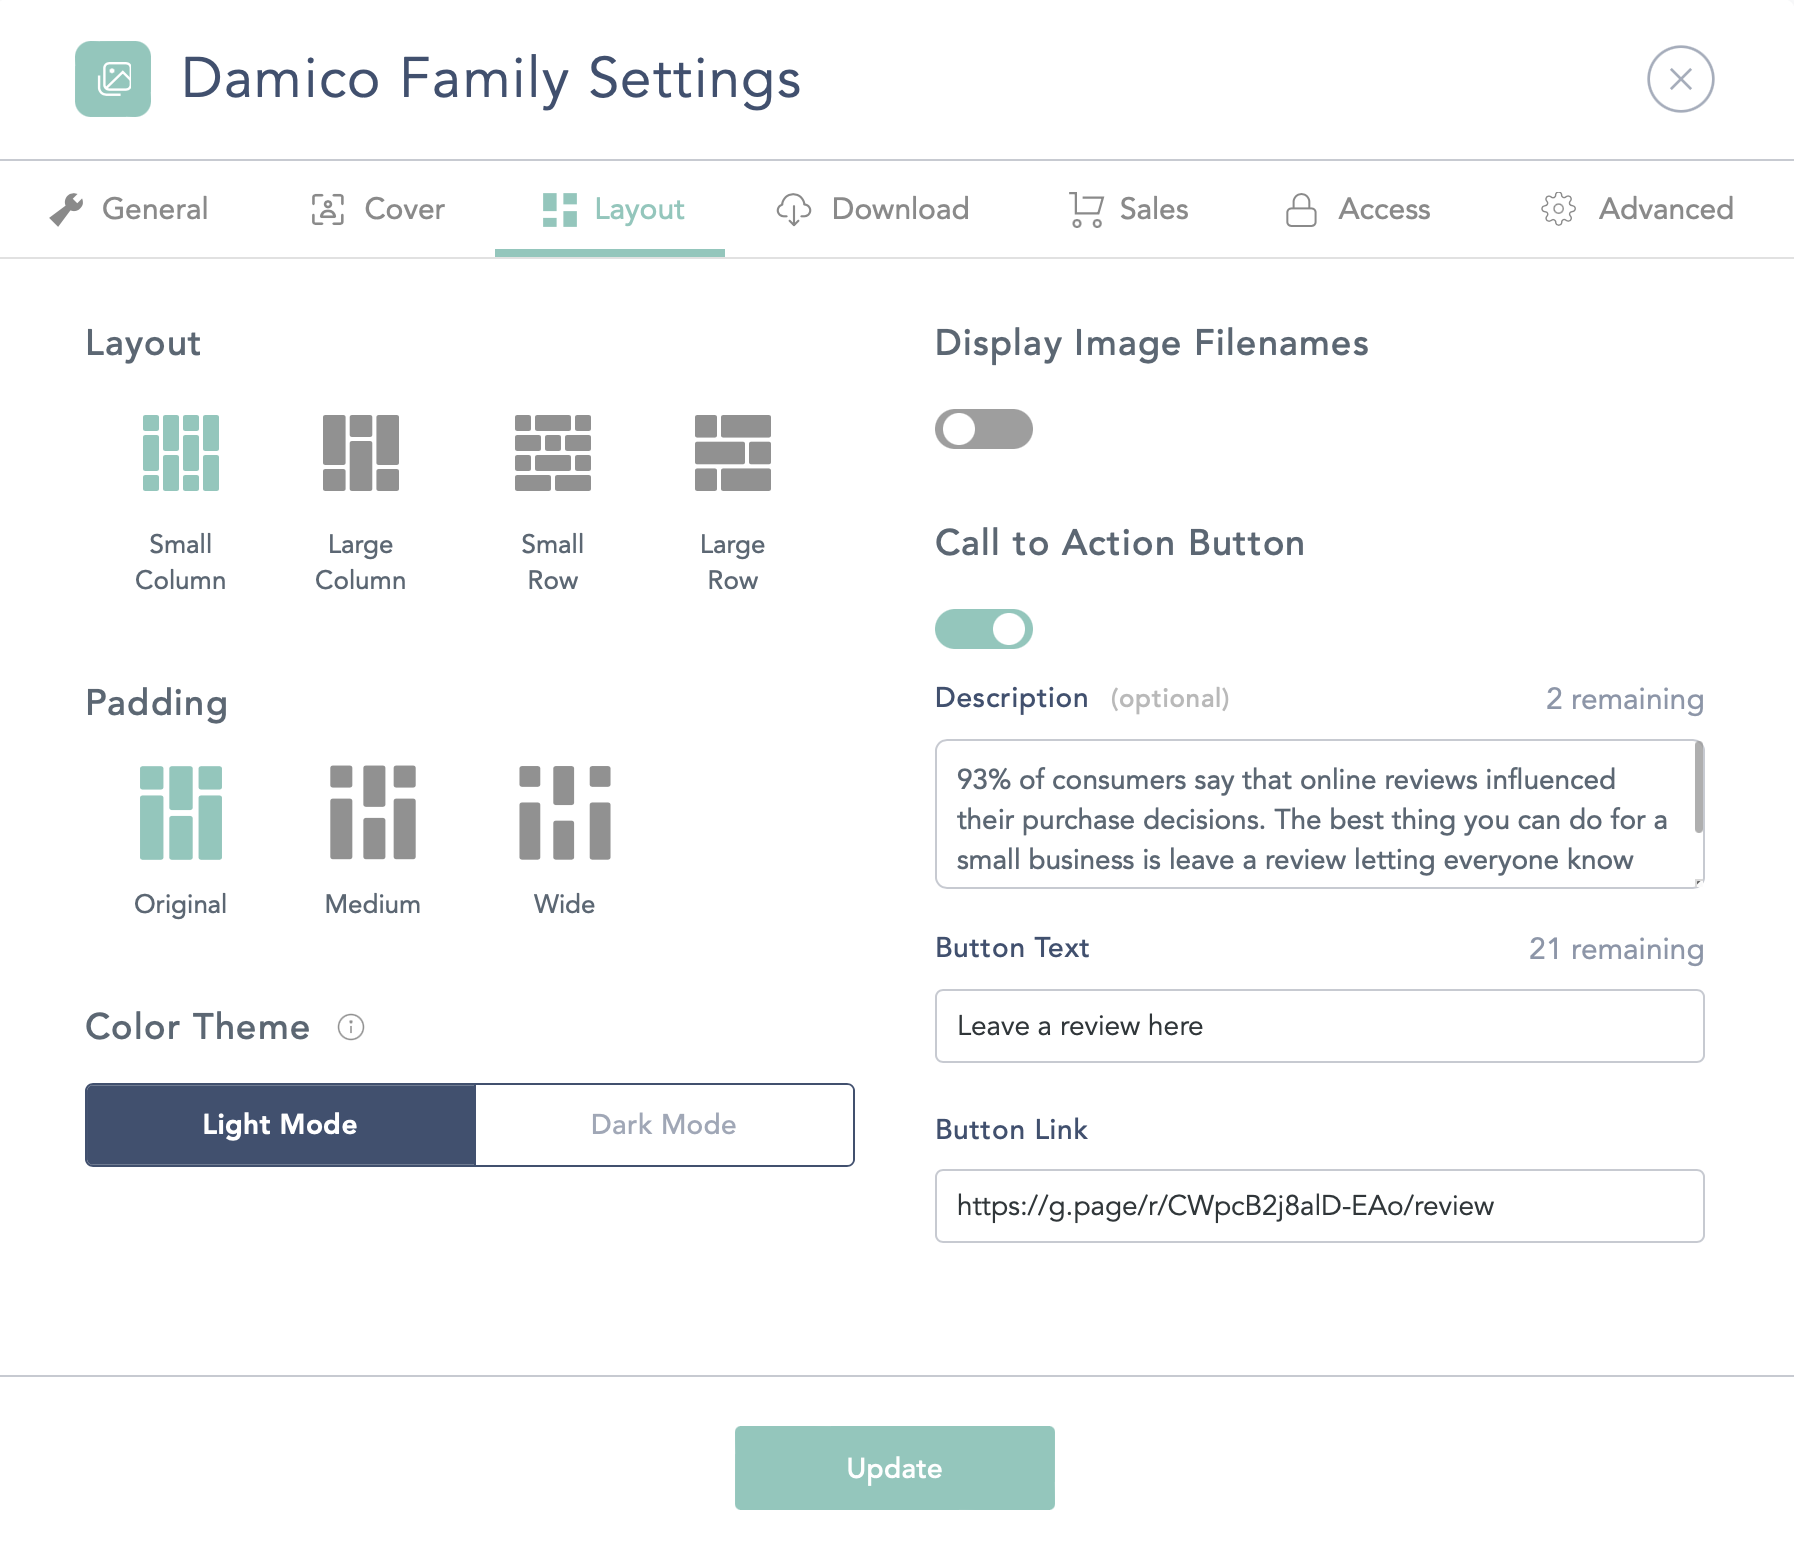
I prefer the small columns with original padding. It’s just what is most aesthetically pleasing to me and what I think gives my clients a pleasurable viewing experience.
I choose not to display image filenames because I feel like they’re distracting.
Since adding the CTA at the bottom of my galleries, I’ve seen a HUGE increase in my reviews! This is a feature that CloudSpot offers that a lot of other gallery hosts don’t have!
If you want to copy and paste the blurb I have typed in the description, you are more than welcome!
93% of consumers say that online reviews influenced their purchase decisions. The best thing you can do for a small business is leave a review letting everyone know how much you loved their work! If you have a couple seconds, could you leave one for me?
Then I link right to my google review page.
I also prefer the Light Mode because it fits my brand aesthetics best.
Download Settings
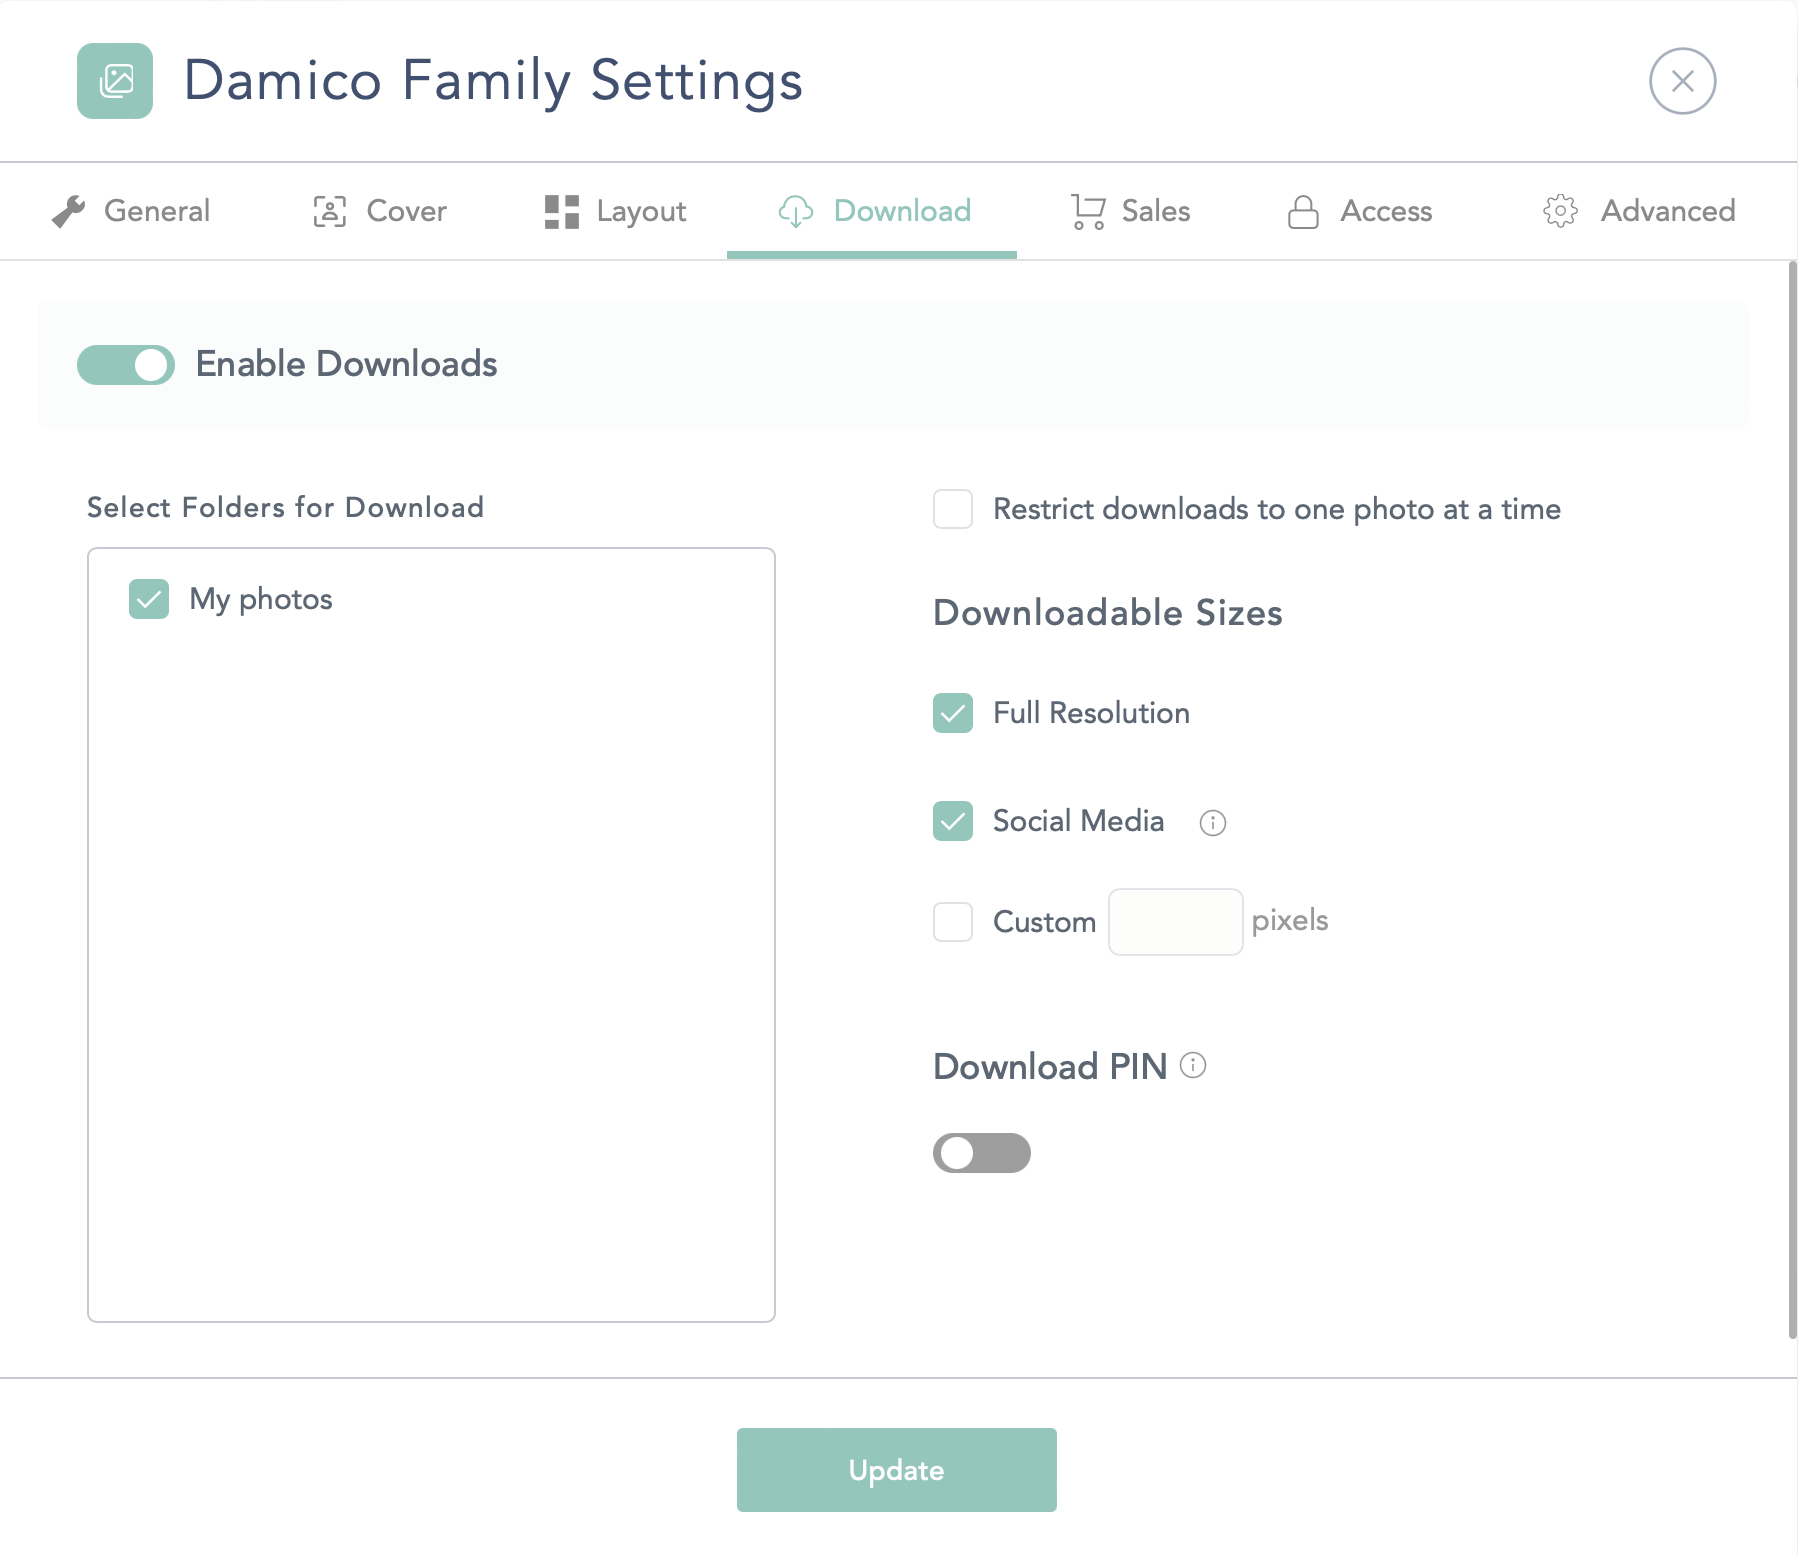
I’m pretty much a shoot & burn photographer, so I allow my clients to download all their final images without any limitations. If you have an IPS or modified-IPS model your settings will look VERY different and you more than likely won’t allow downloads at all.
I check the first 2 options for download sizes and make sure to explain the difference to my clients. I let them know that if they upload a Full-Res image to IG or FB it will get compressed and will look grainy.
I don’t limit any pixels and I don’t require a pin to download.
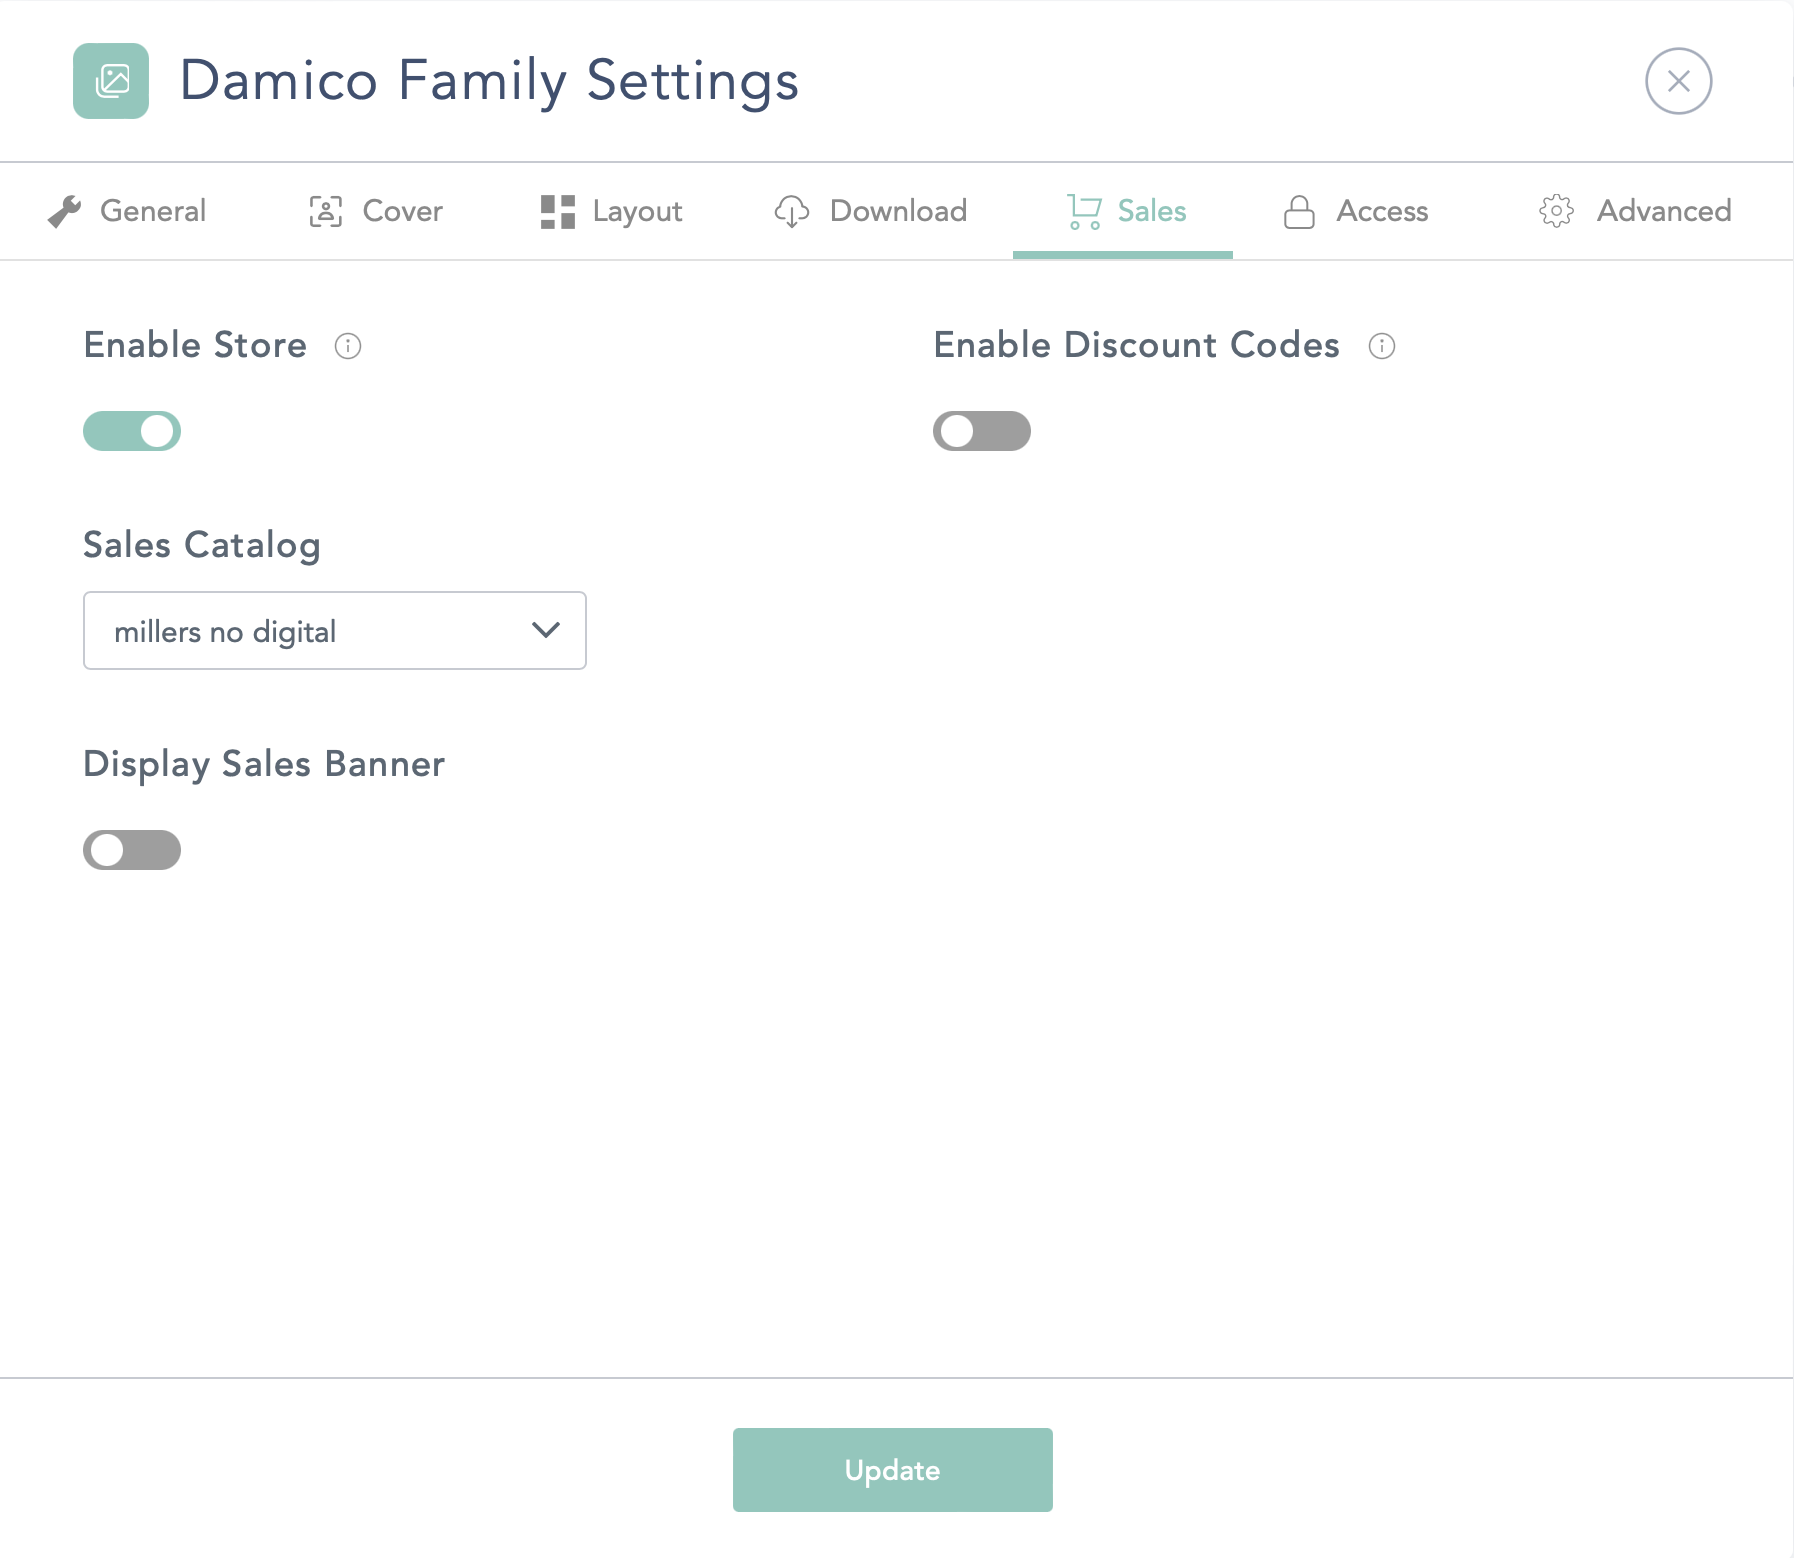
Sale Options
One of the easiest upsales I’ve ever done in my business is to include prints. I have my professional Miller’s account linked and CloudSpot handles the rest! I literally make money in my sleep while grandma is up late at night ordering prints of her grandkids, or mom is doing a late night feeding in the nursery and thinking of the prints she wants on the walls.
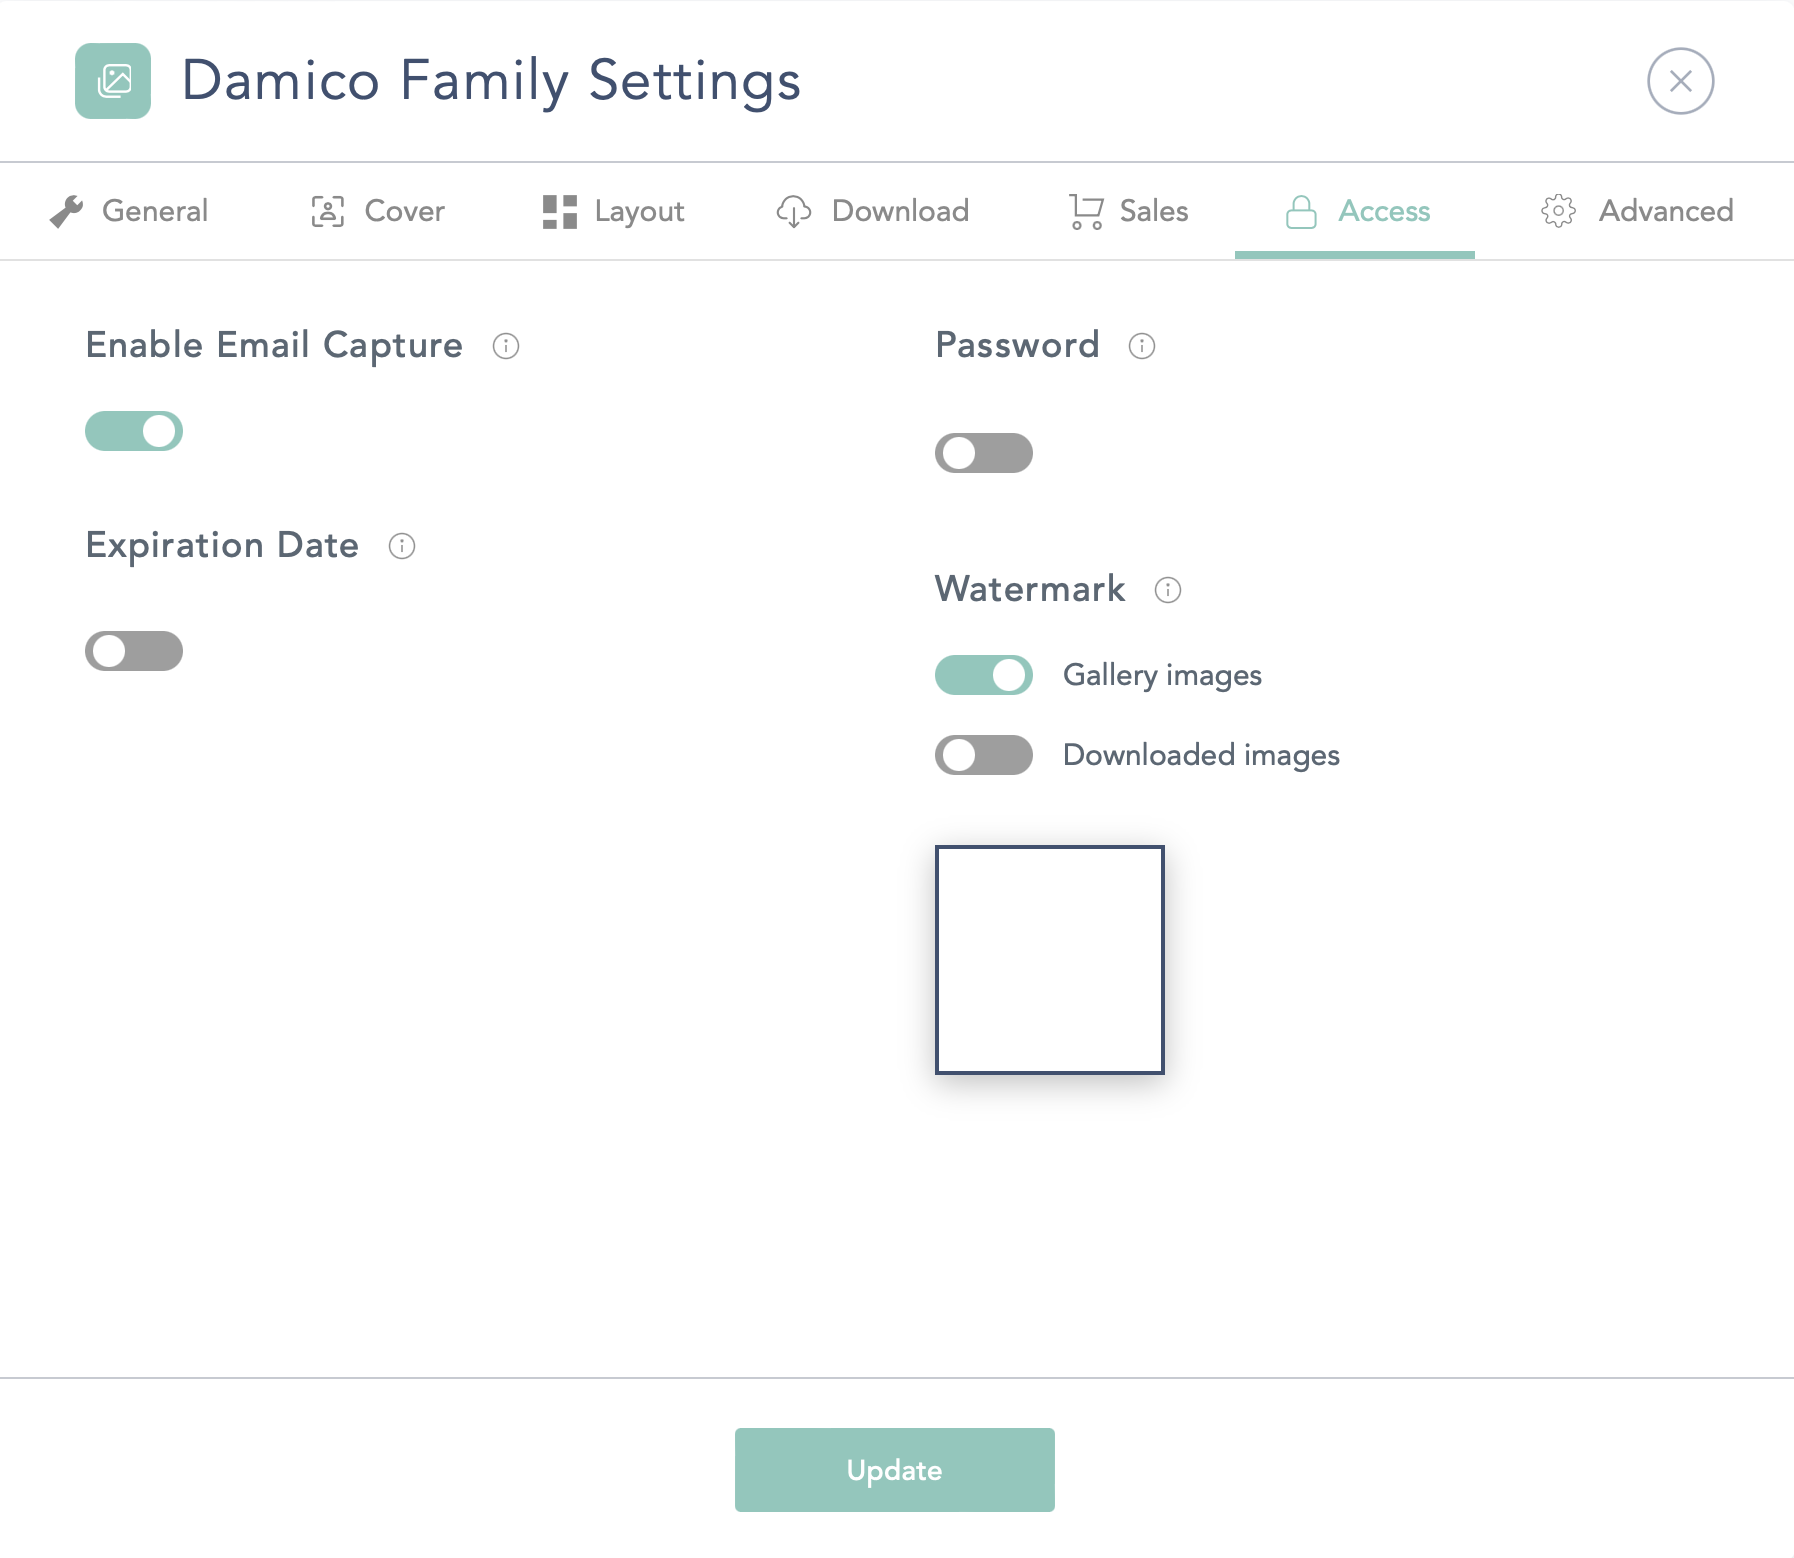
Gallery Access
Part of my shoot & burn model is that I’m totally okay with families sharing their galleries with any and every one! Especially the apps I include. Send it to grandma and all the aunts! Share the cuteness!
I require an email when logging in just so I can keep an eye on who’s checking out the galleries and make sure there aren’t any creeps. I used to do a gallery expiration, but then I just decided to pay for unlimited storage because I was tired of having to go back and re-upload galleries or re-activate them. I DO have a line in my contract that says I’m not responsible for pictures after X number of days (god forbid the end of the world happens and all internet servers crash and their gallery is lost)
I don’t password protect galleries because it’s just one more thing for me and the family to keep up with.
I DO watermark my images inside the gallery though to PREVENT people from screenshotting and accidentally ordering prints of those screenshots! It’s happened more times than I can count. Even though they get to download full res files, people just don’t understand what that means and think it’s okay to order a 16×20 print of a phone screenshot (spoiler alert – it’s not).
I don’t watermark the downloaded images though. You can’t tell from the preview, but my watermark is a white .png of my logo that I keep at a pretty high transparency so it doesn’t distract too much from the pictures.
And there you have it! All my gallery settings in a nutshell! These are the settings I use for 90% of my galleries (mini sessions being the only exception because those have limited digitals).
If you think you want to give CloudSpot a try, be sure to use my referral link and you can get 20% off for your first year!
I highhhhhly recommend signing up for the unlimited plan so you don’t have to worry about using up too much storage. If you’re interested in seeing the plug & play email templates I use for my entire workflow from initial inquiry to gallery delivery & even asking for a follow up review, you can check them out here!
Read Post
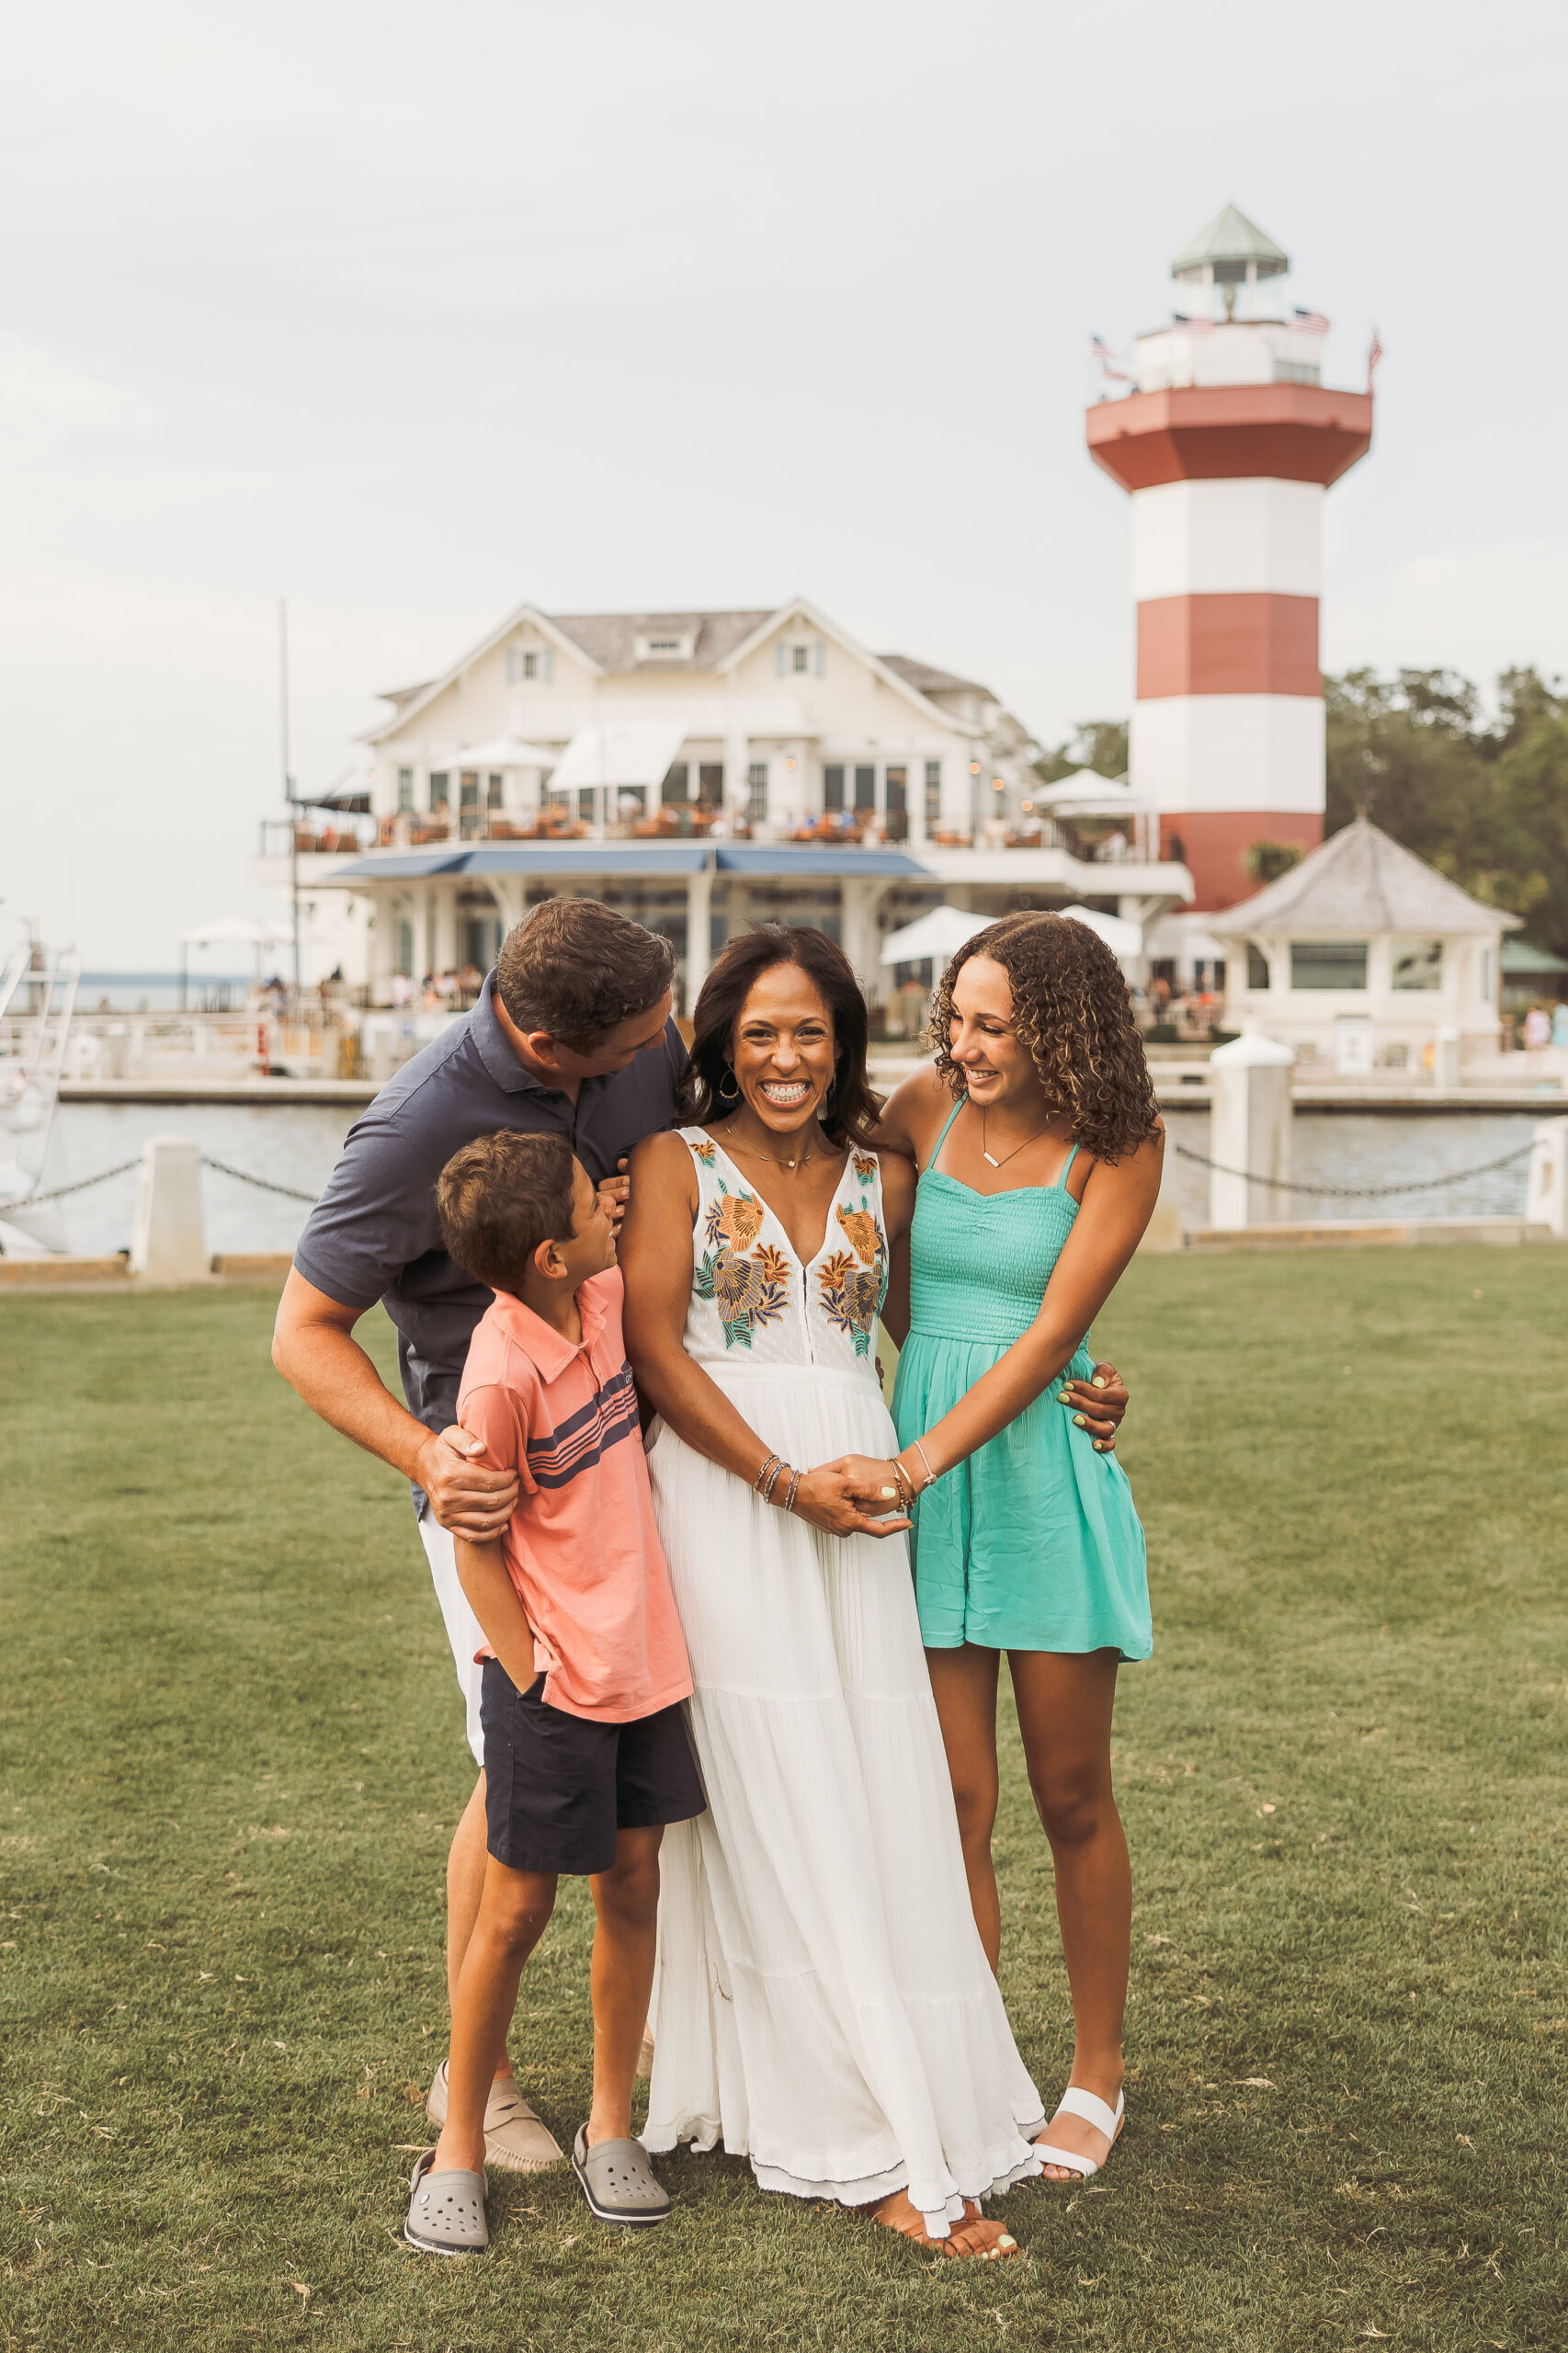
Picture-Perfect Memories: Strike a Pose in Harbour Town, Hilton Head Island!
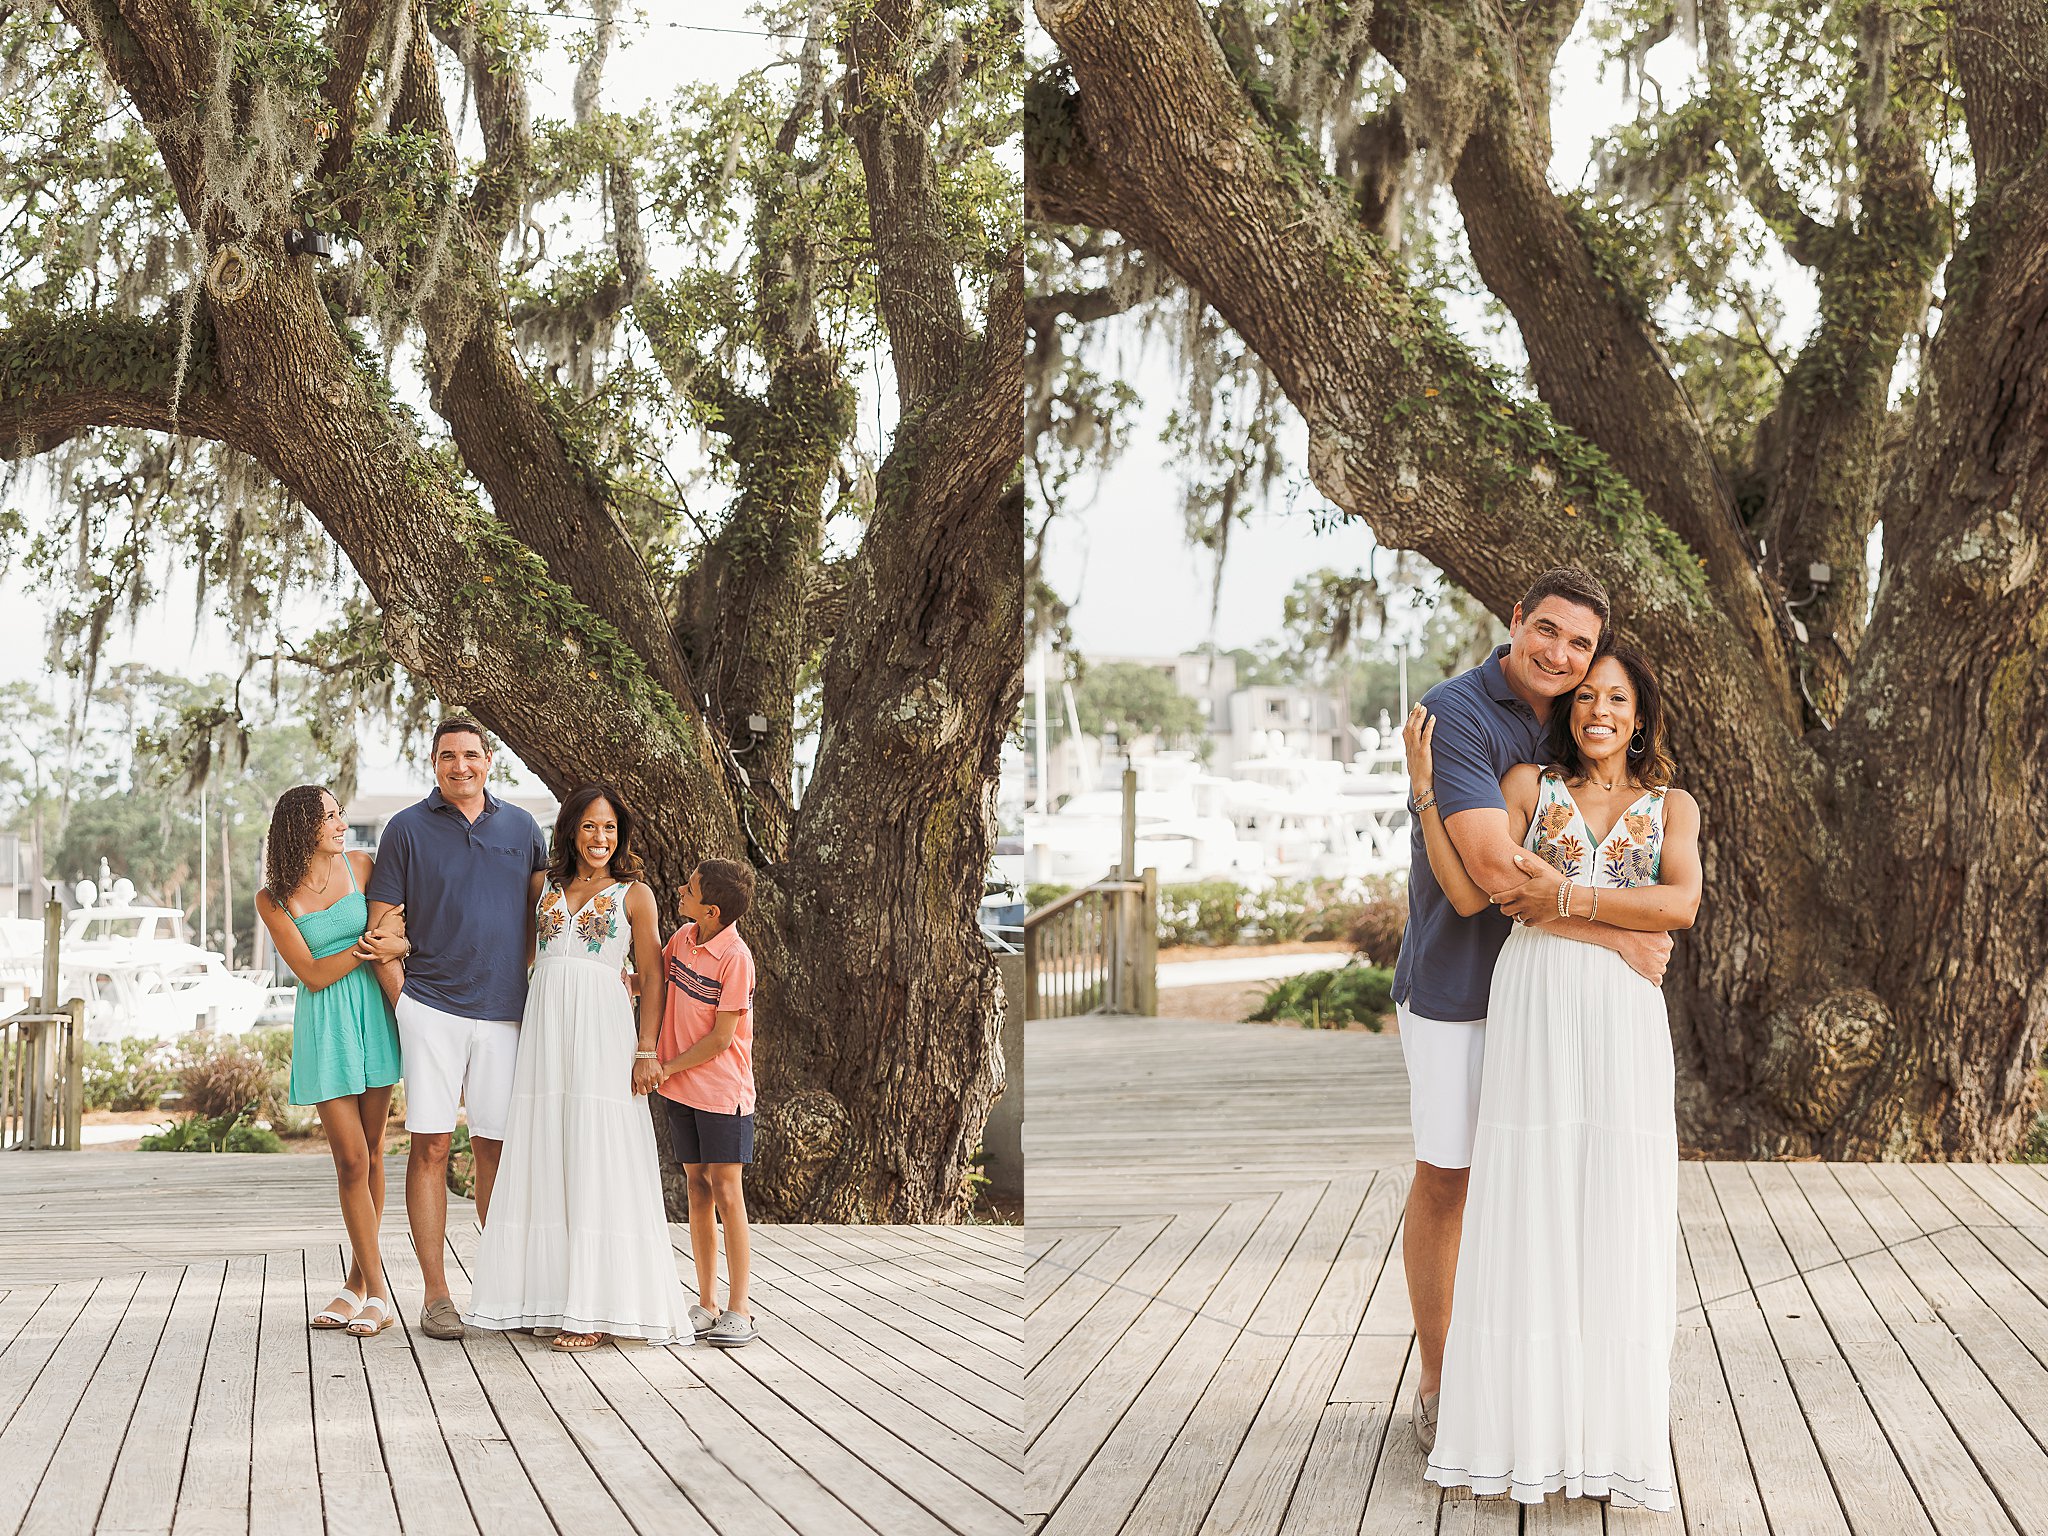
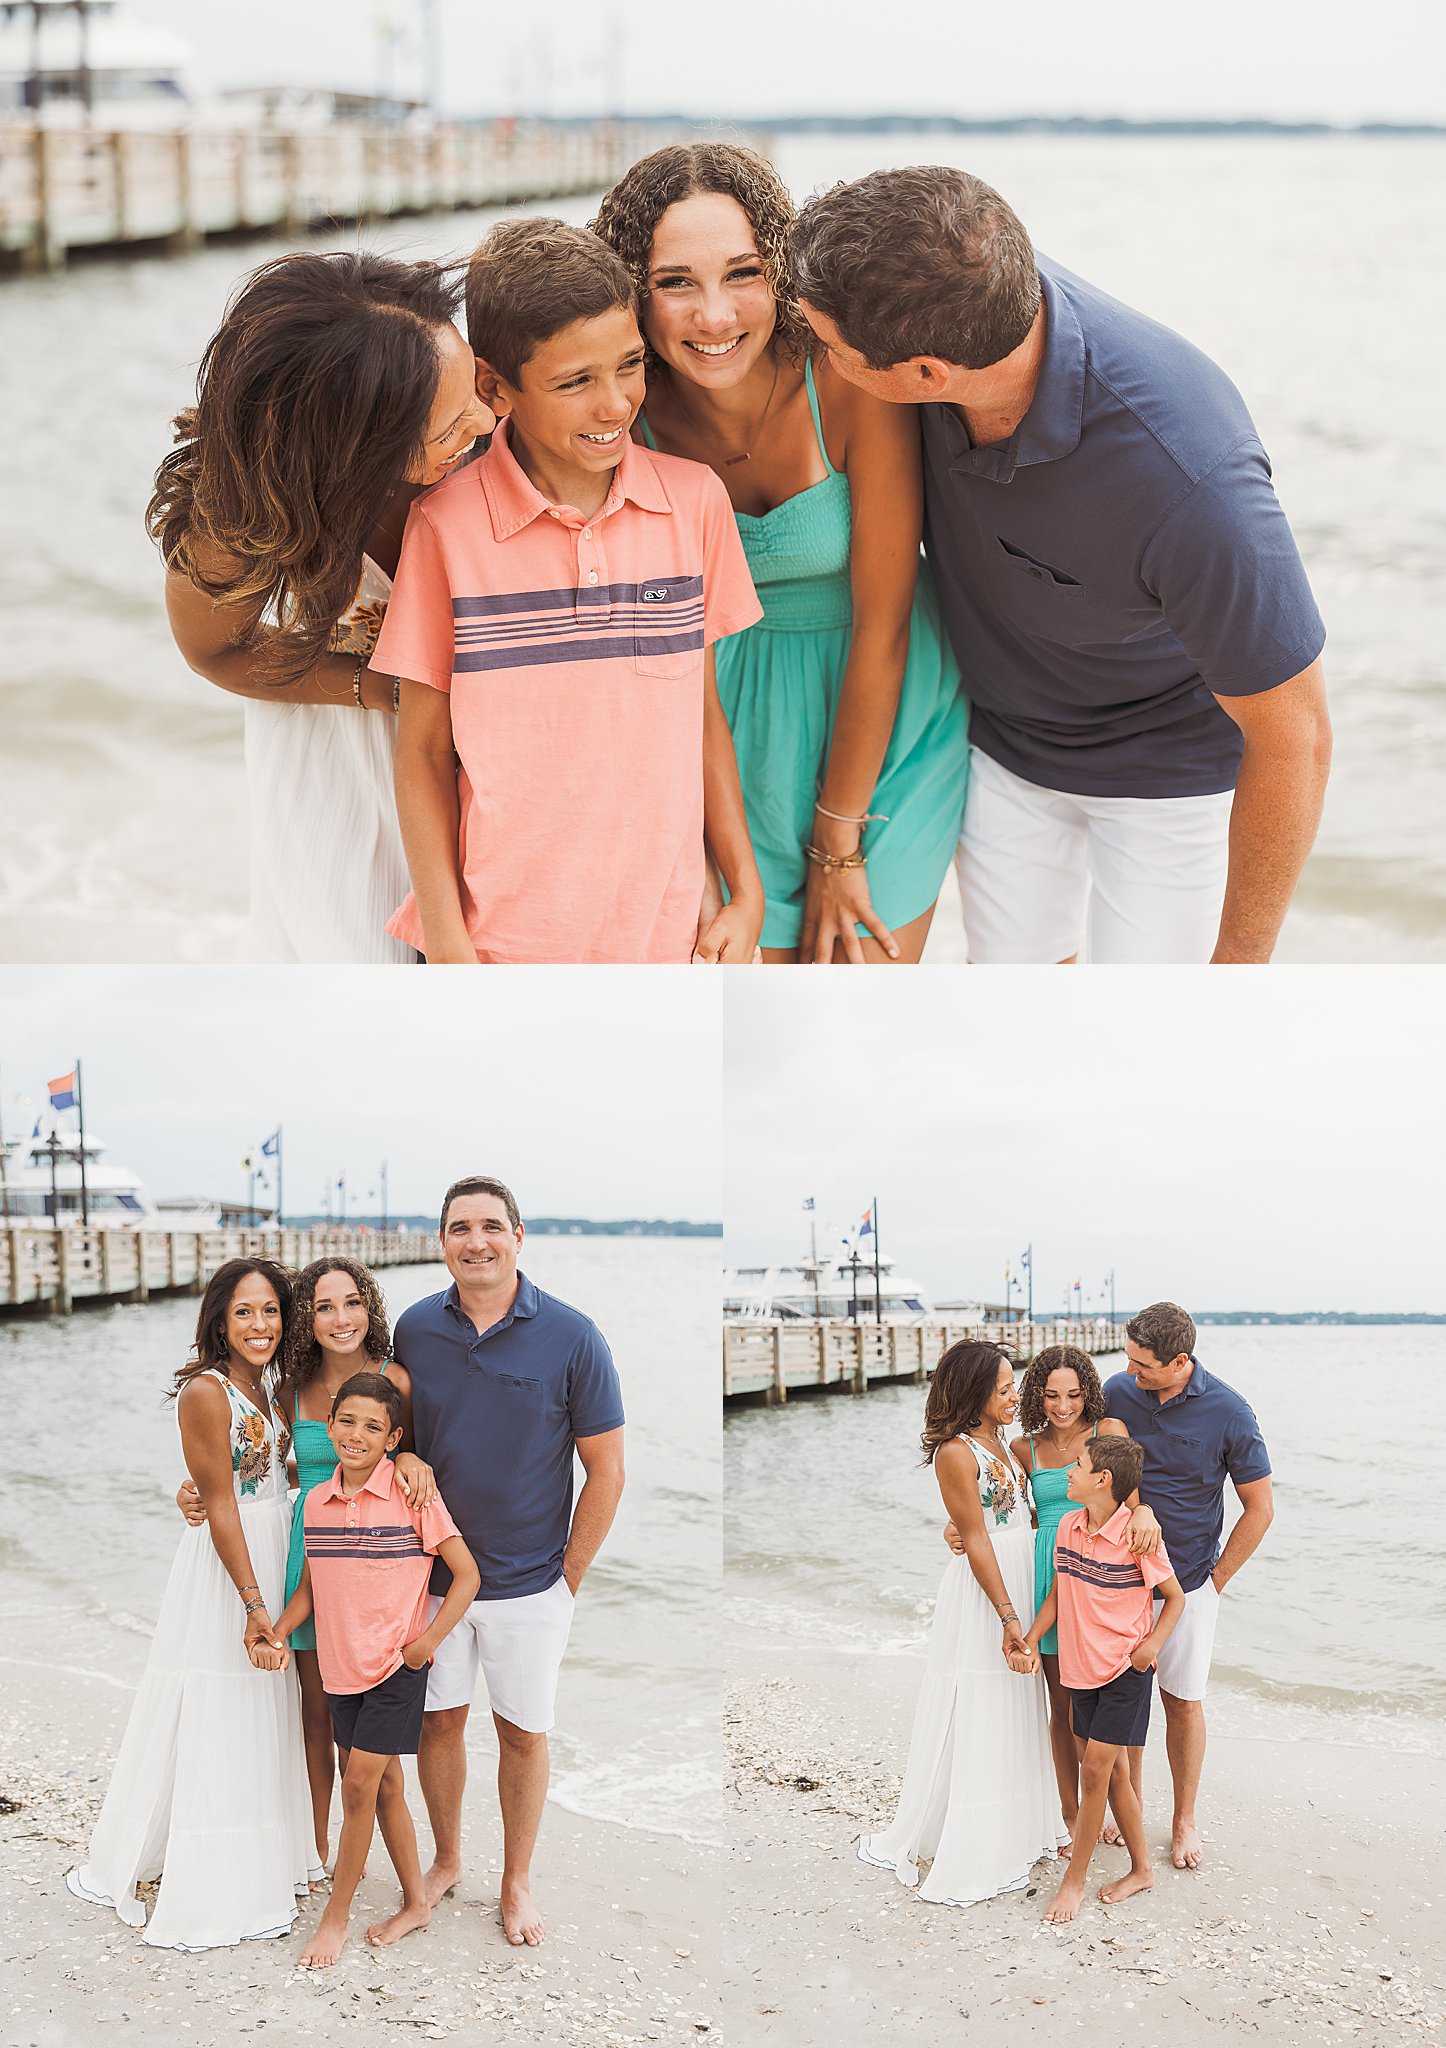
If you’re on the lookout for a picture-perfect location that radiates charm and offers a laid-back vibe, look no further than Harbour Town in Sea Pines on Hilton Head Island. This not-so-hidden gem nestled on the marina will captivate you with its diverse scenery and provide the ideal backdrop for your next Instagram-worthy shot. From the iconic Gregg Russell Tree to the breathtaking views of the lighthouse on the 18th green, and the “beach” shots with the pier in the background, Harbour Town is an absolute haven for capturing memorable moments.
It’s the perfect spot to embrace the island’s natural charm, surrounded by lush greenery and serenaded by live music.
At Harbour Town, it’s all about capturing those spontaneous and candid moments that truly reflect the essence of your family. Whether you’re strolling along the marina, exploring the quaint shops, or indulging in delicious local treats, be ready to snap those genuine smiles, infectious laughter, and carefree interactions. Harbour Town is a place where you can let your guard down, embrace the casual charm, and create memories that will last a lifetime.
From the enchanting Gregg Russell Tree to the breathtaking lighthouse views and the laid-back beach shots with the pier, this hidden treasure offers endless opportunities to immortalize your adventures. So ditch the formal poses and join us in Harbour Town for a casual, fun-filled photography session that will leave you with memories to cherish. Get ready to capture the magic of Hilton Head Island like never before!


Read Post
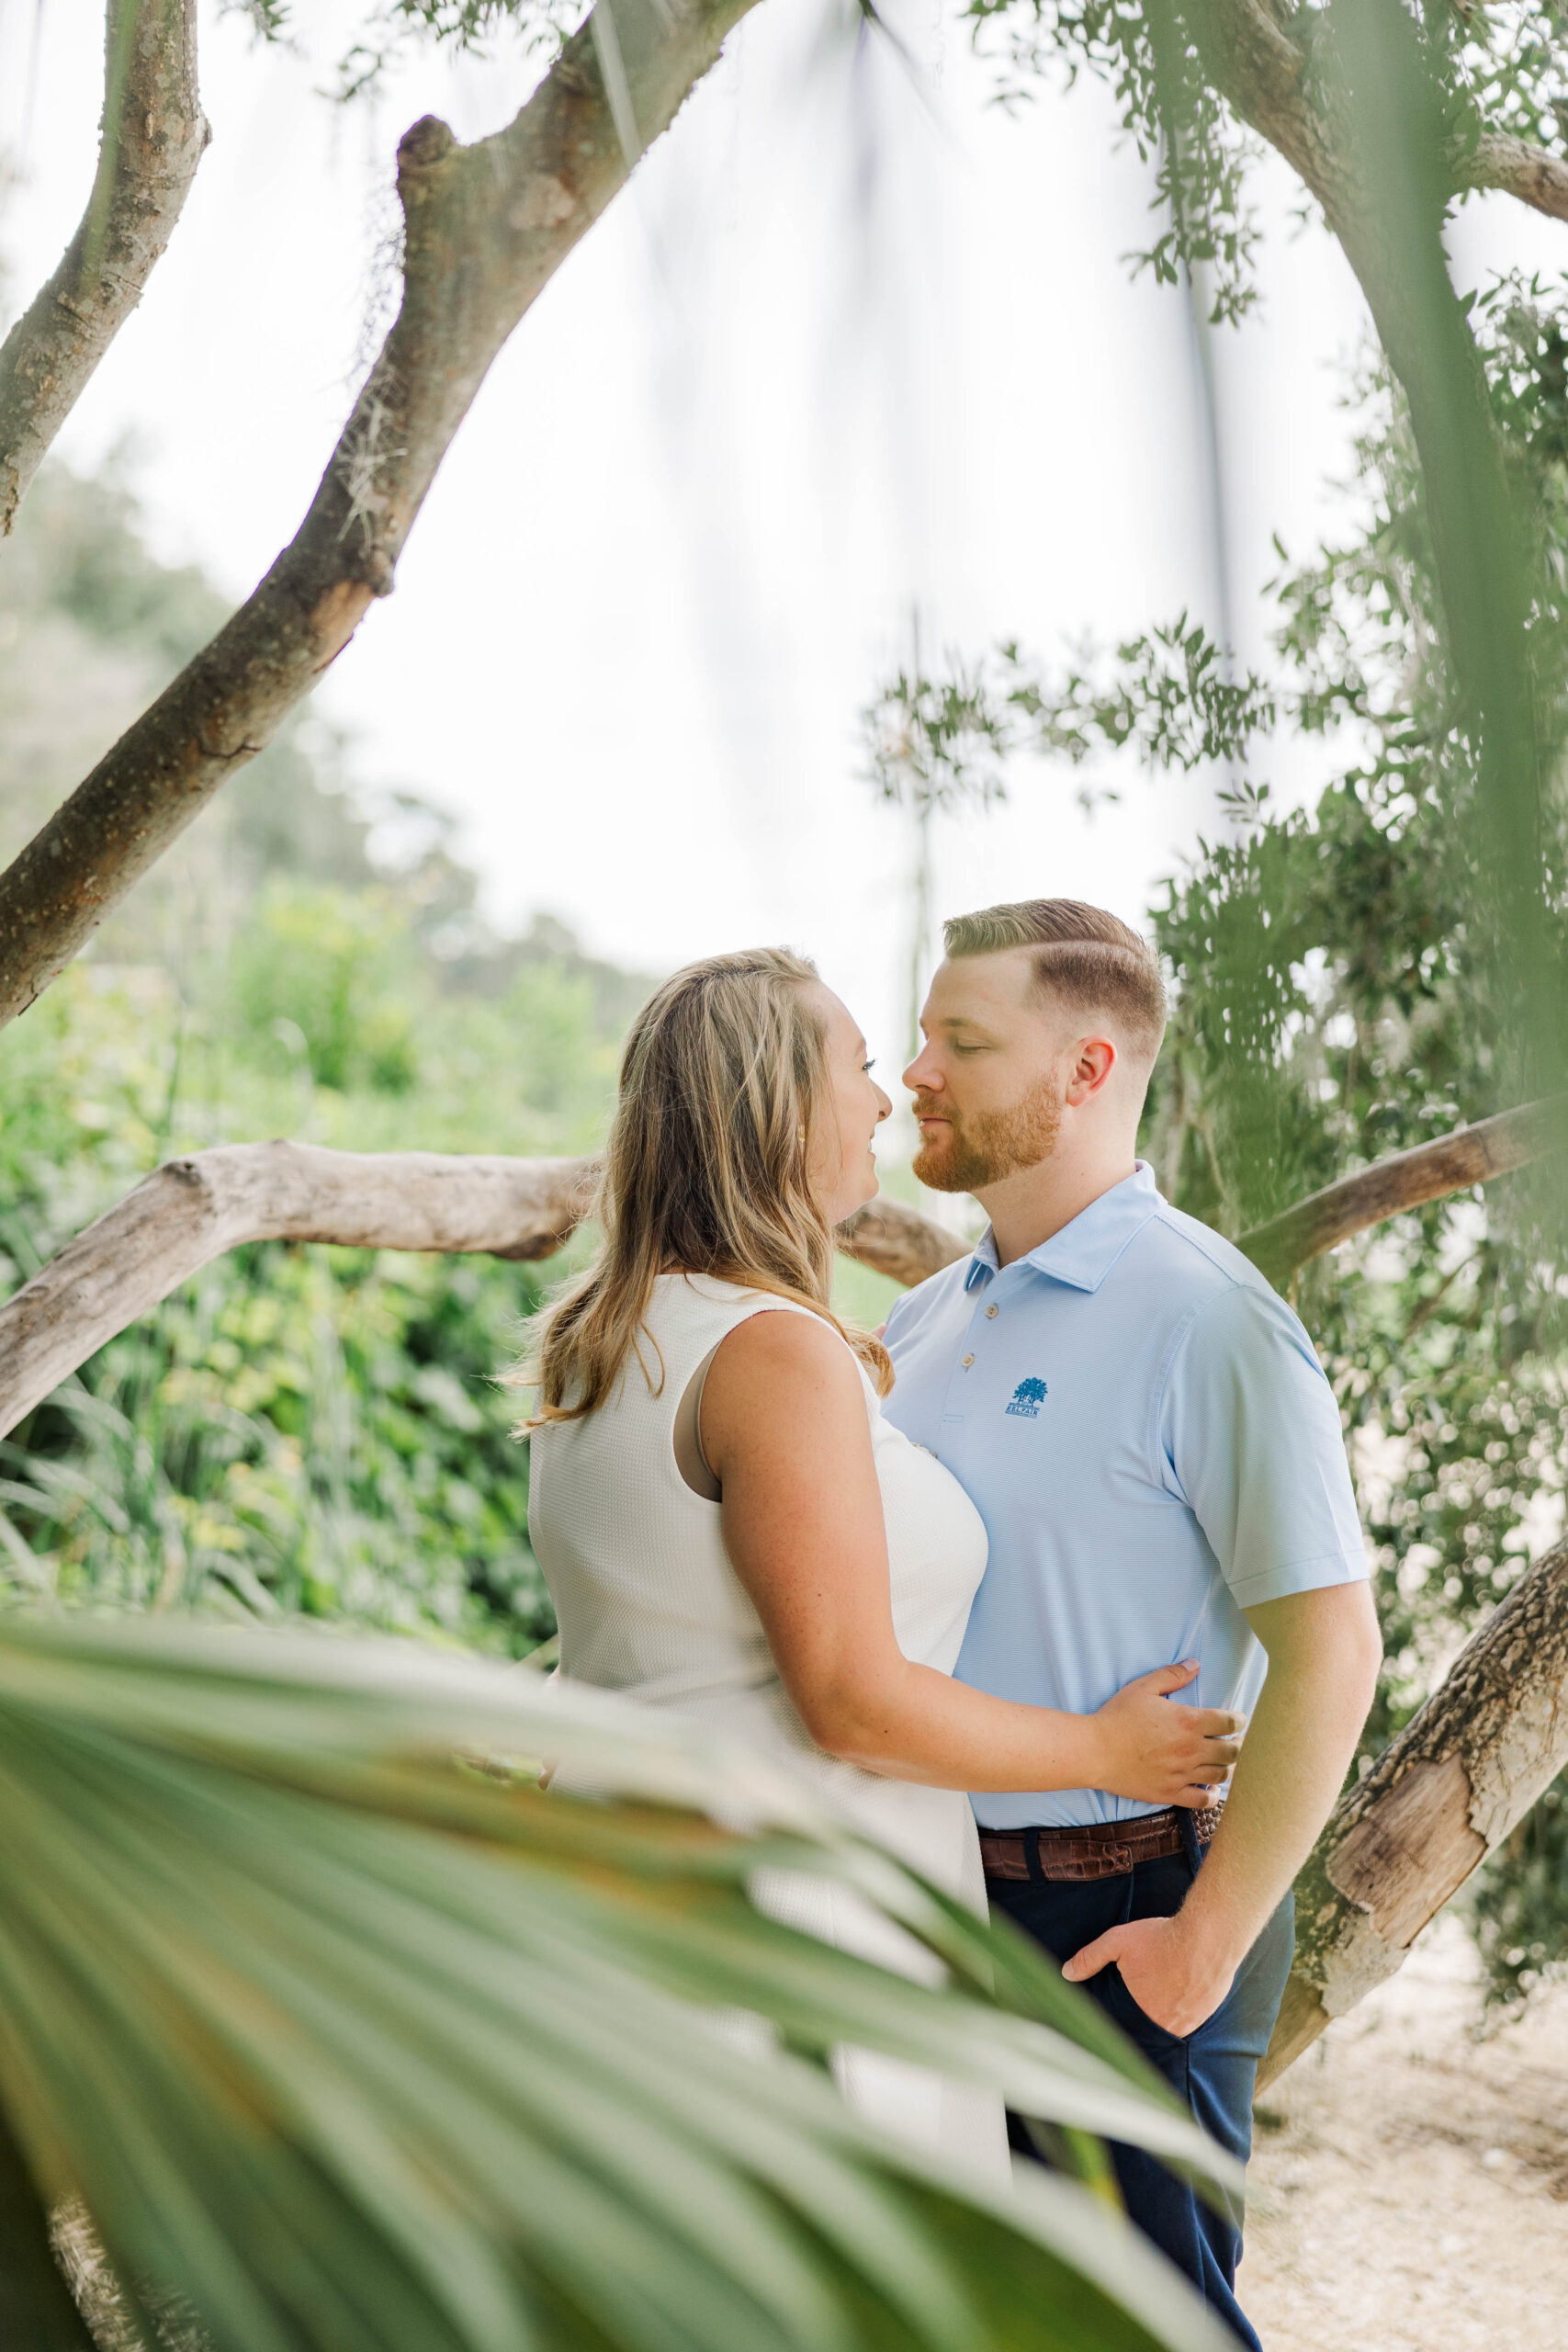
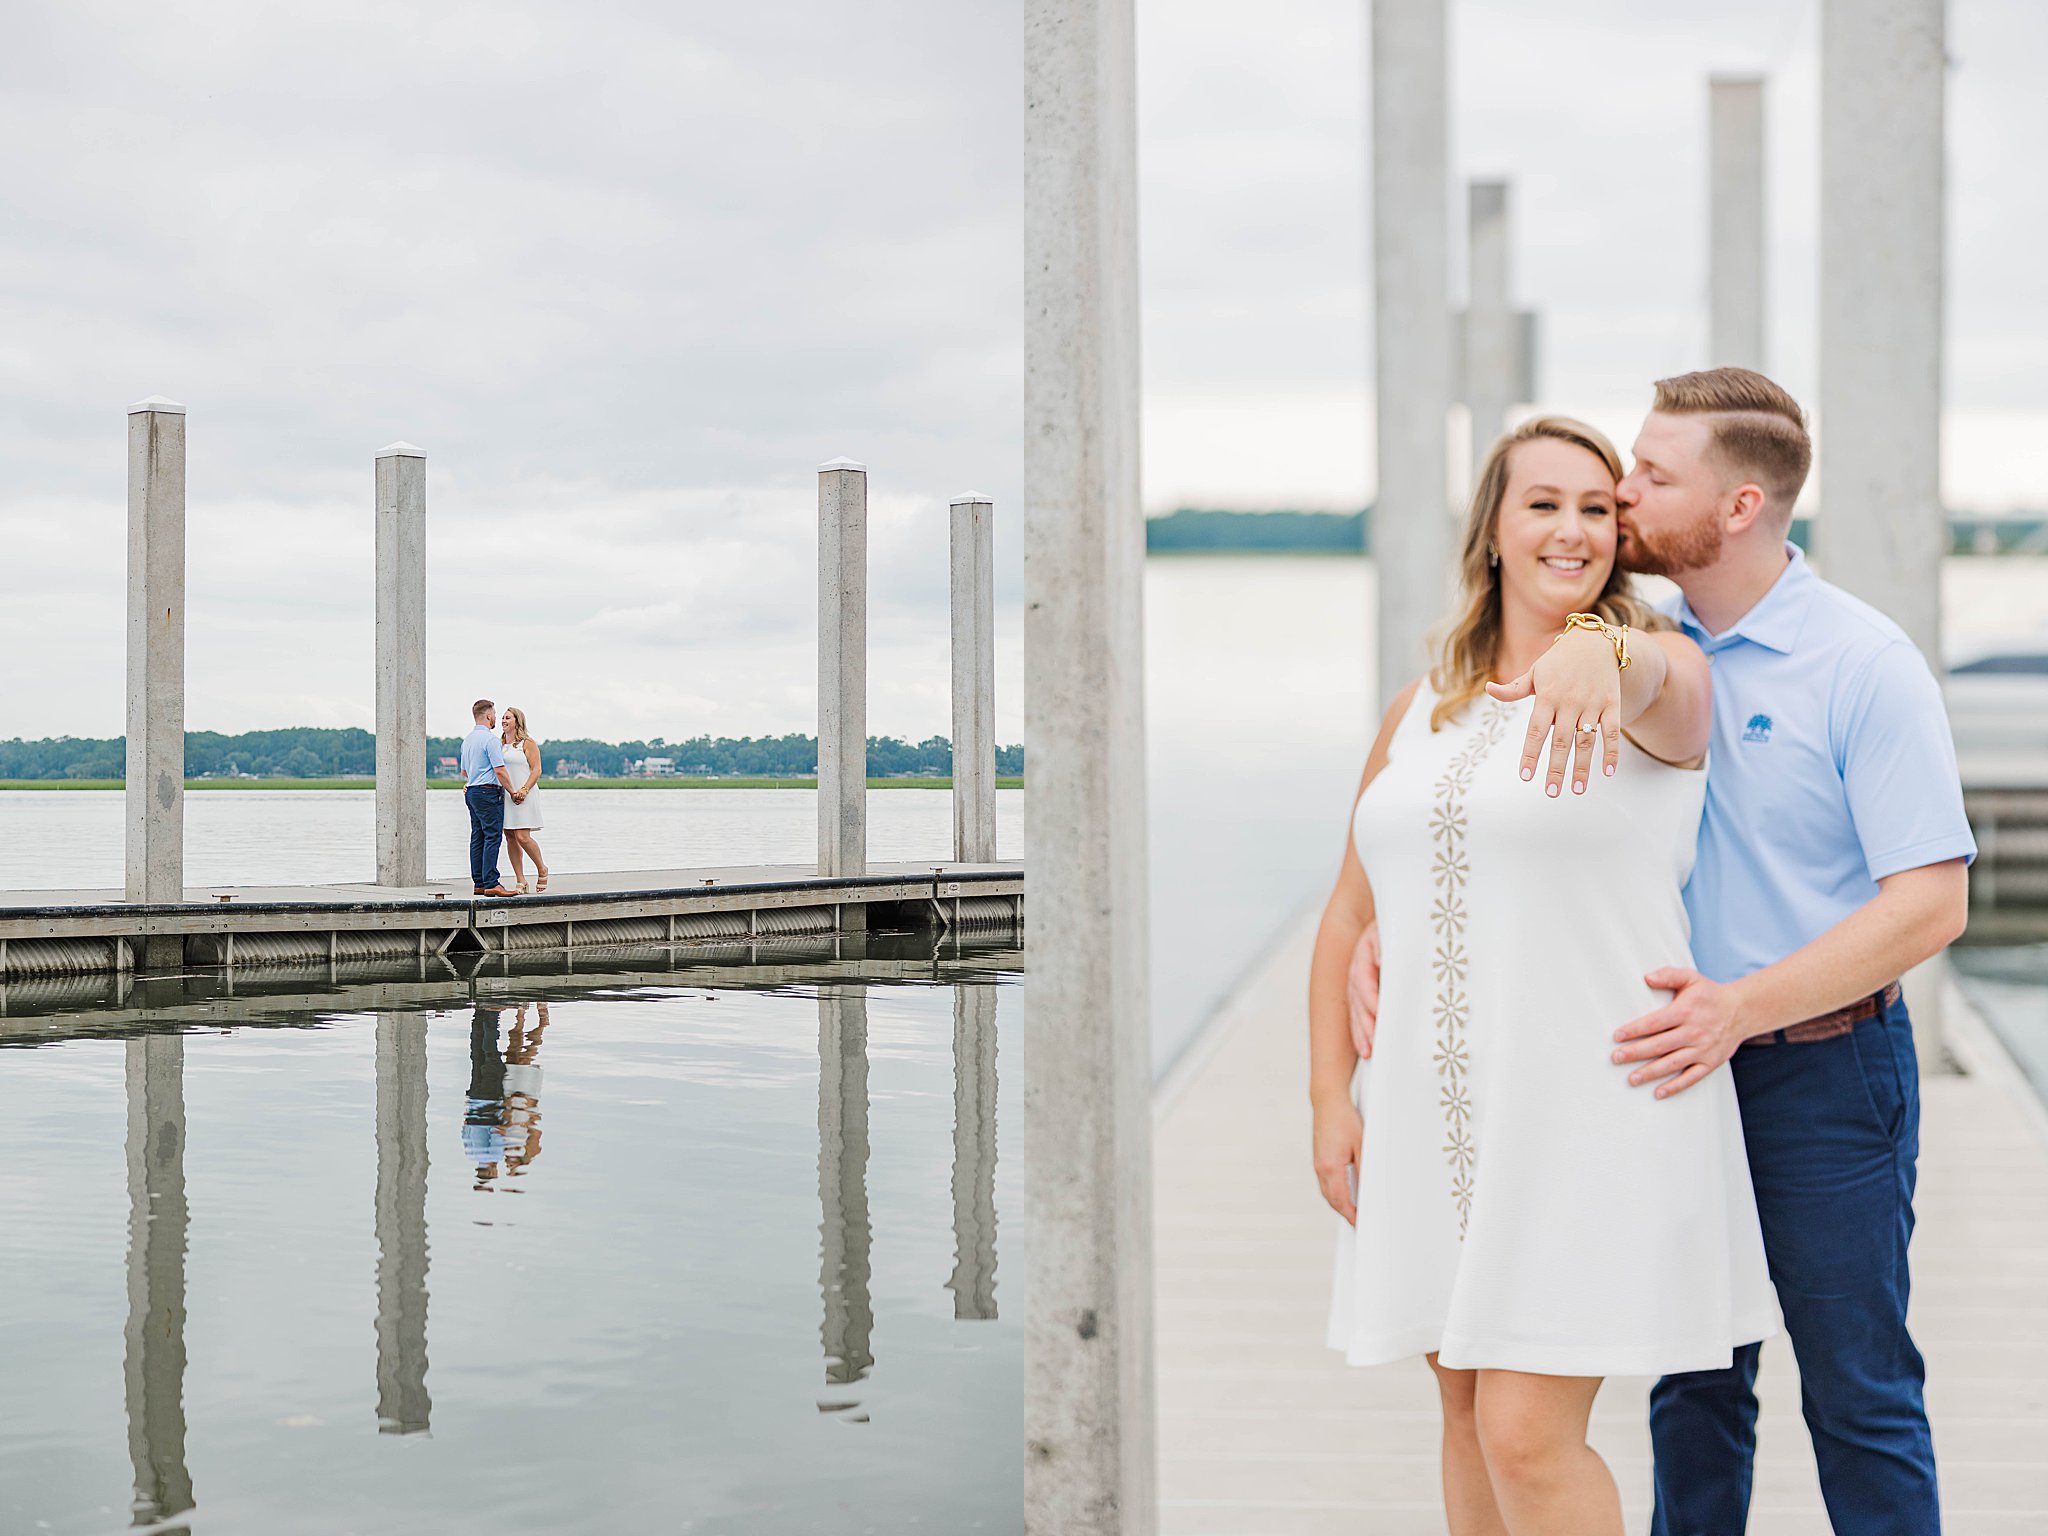
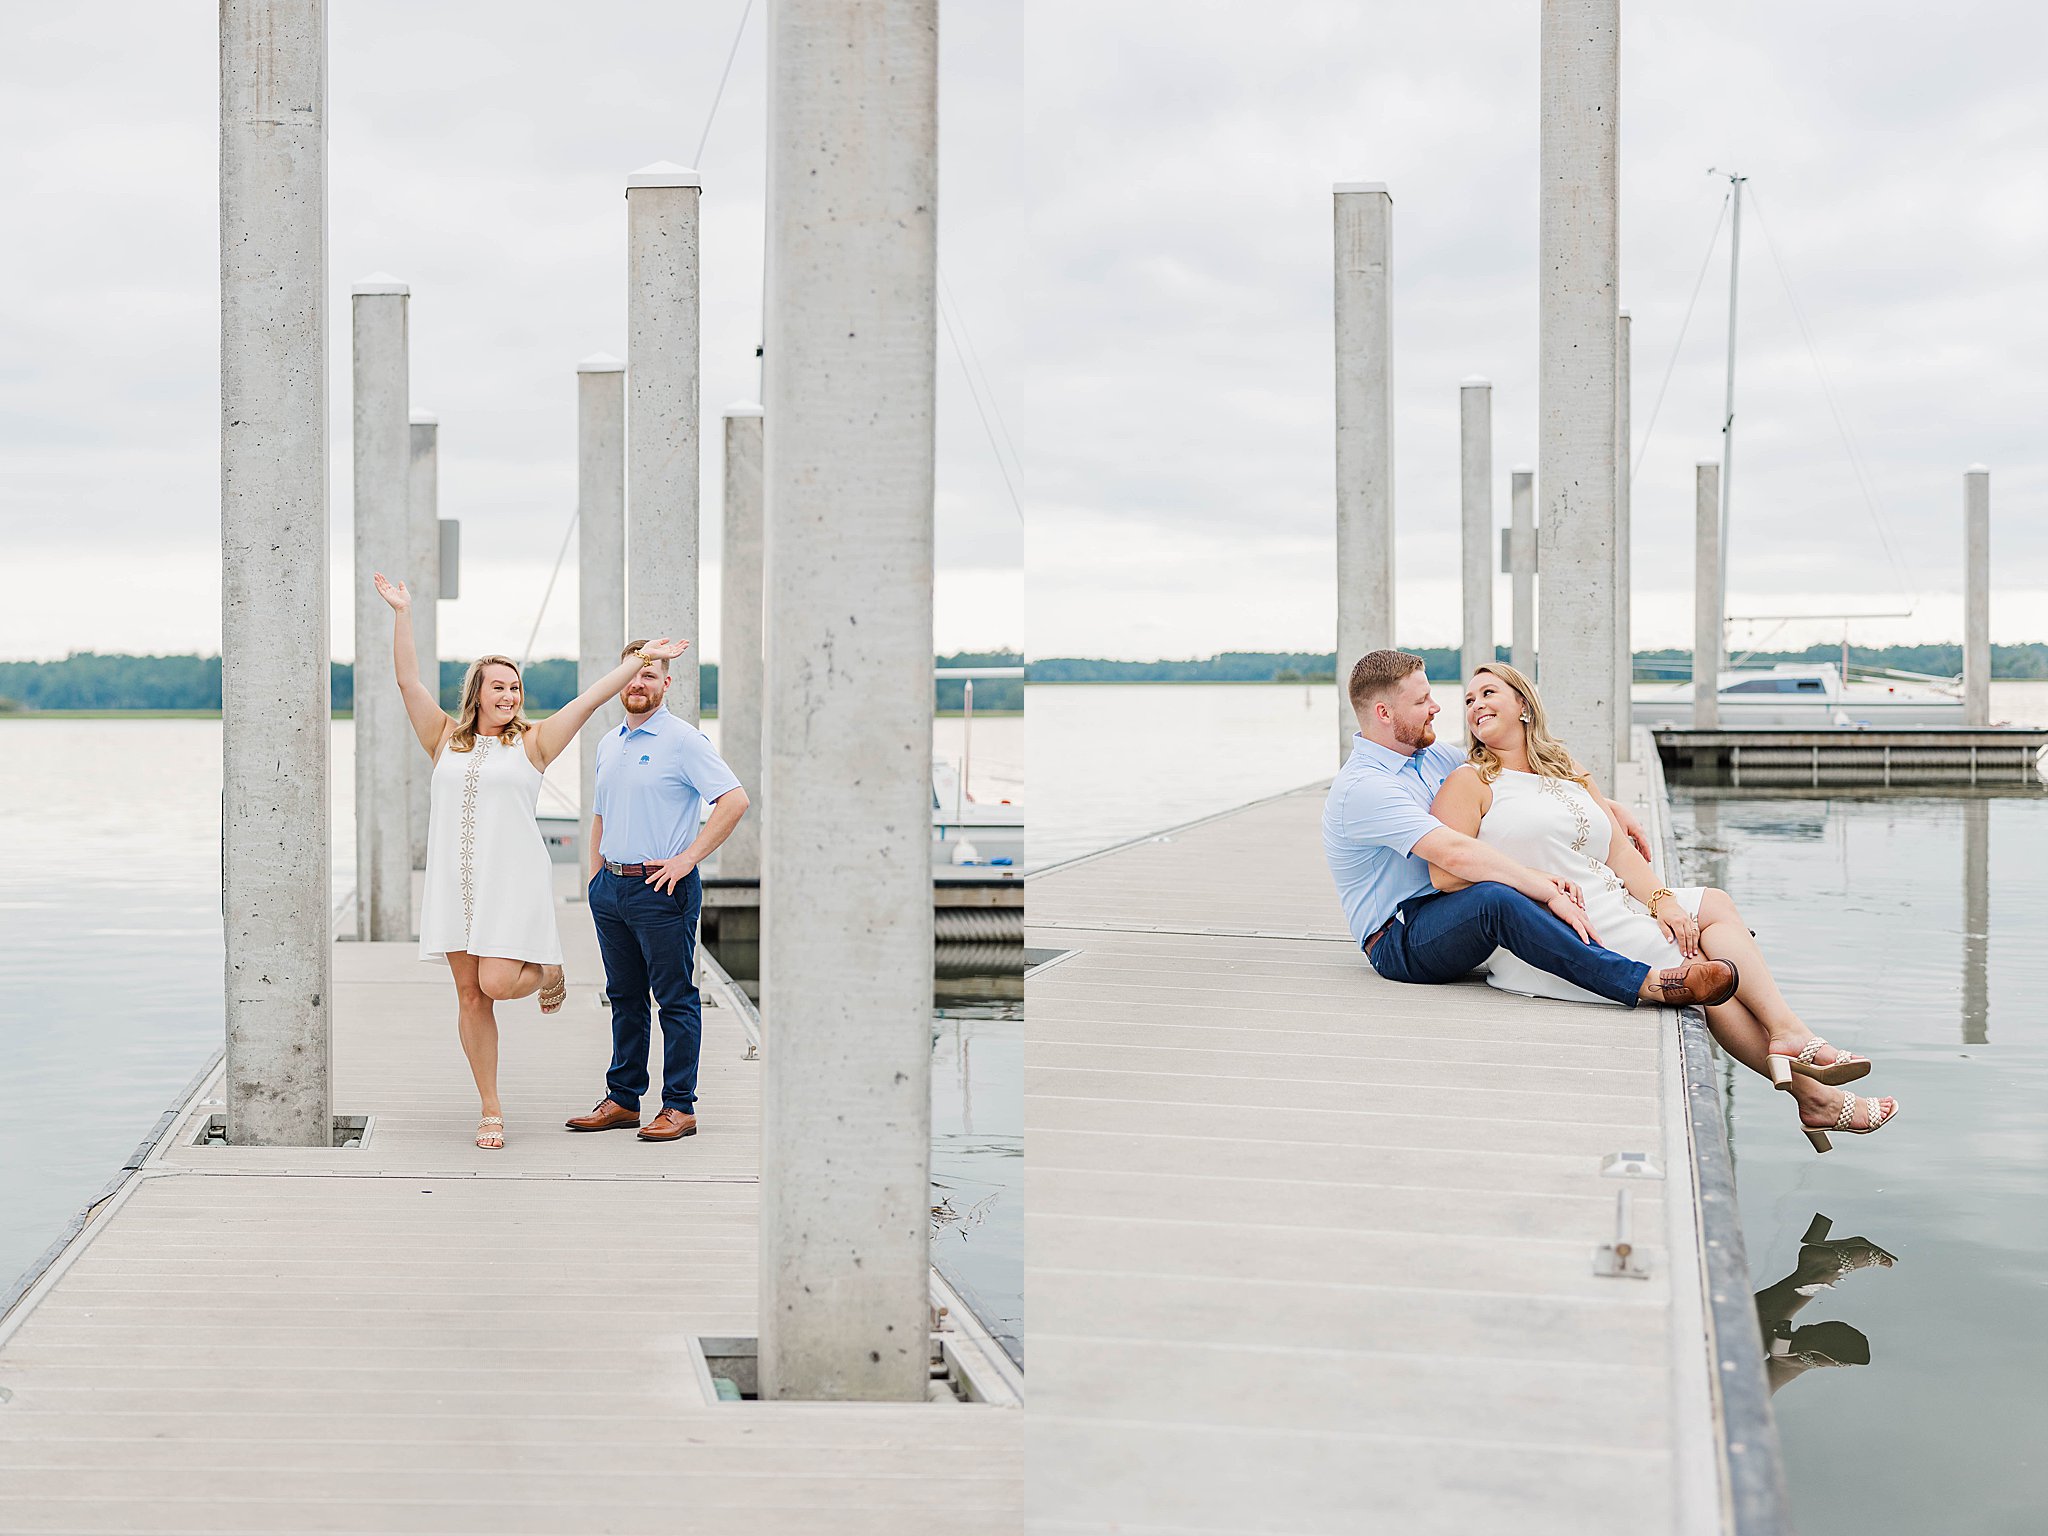
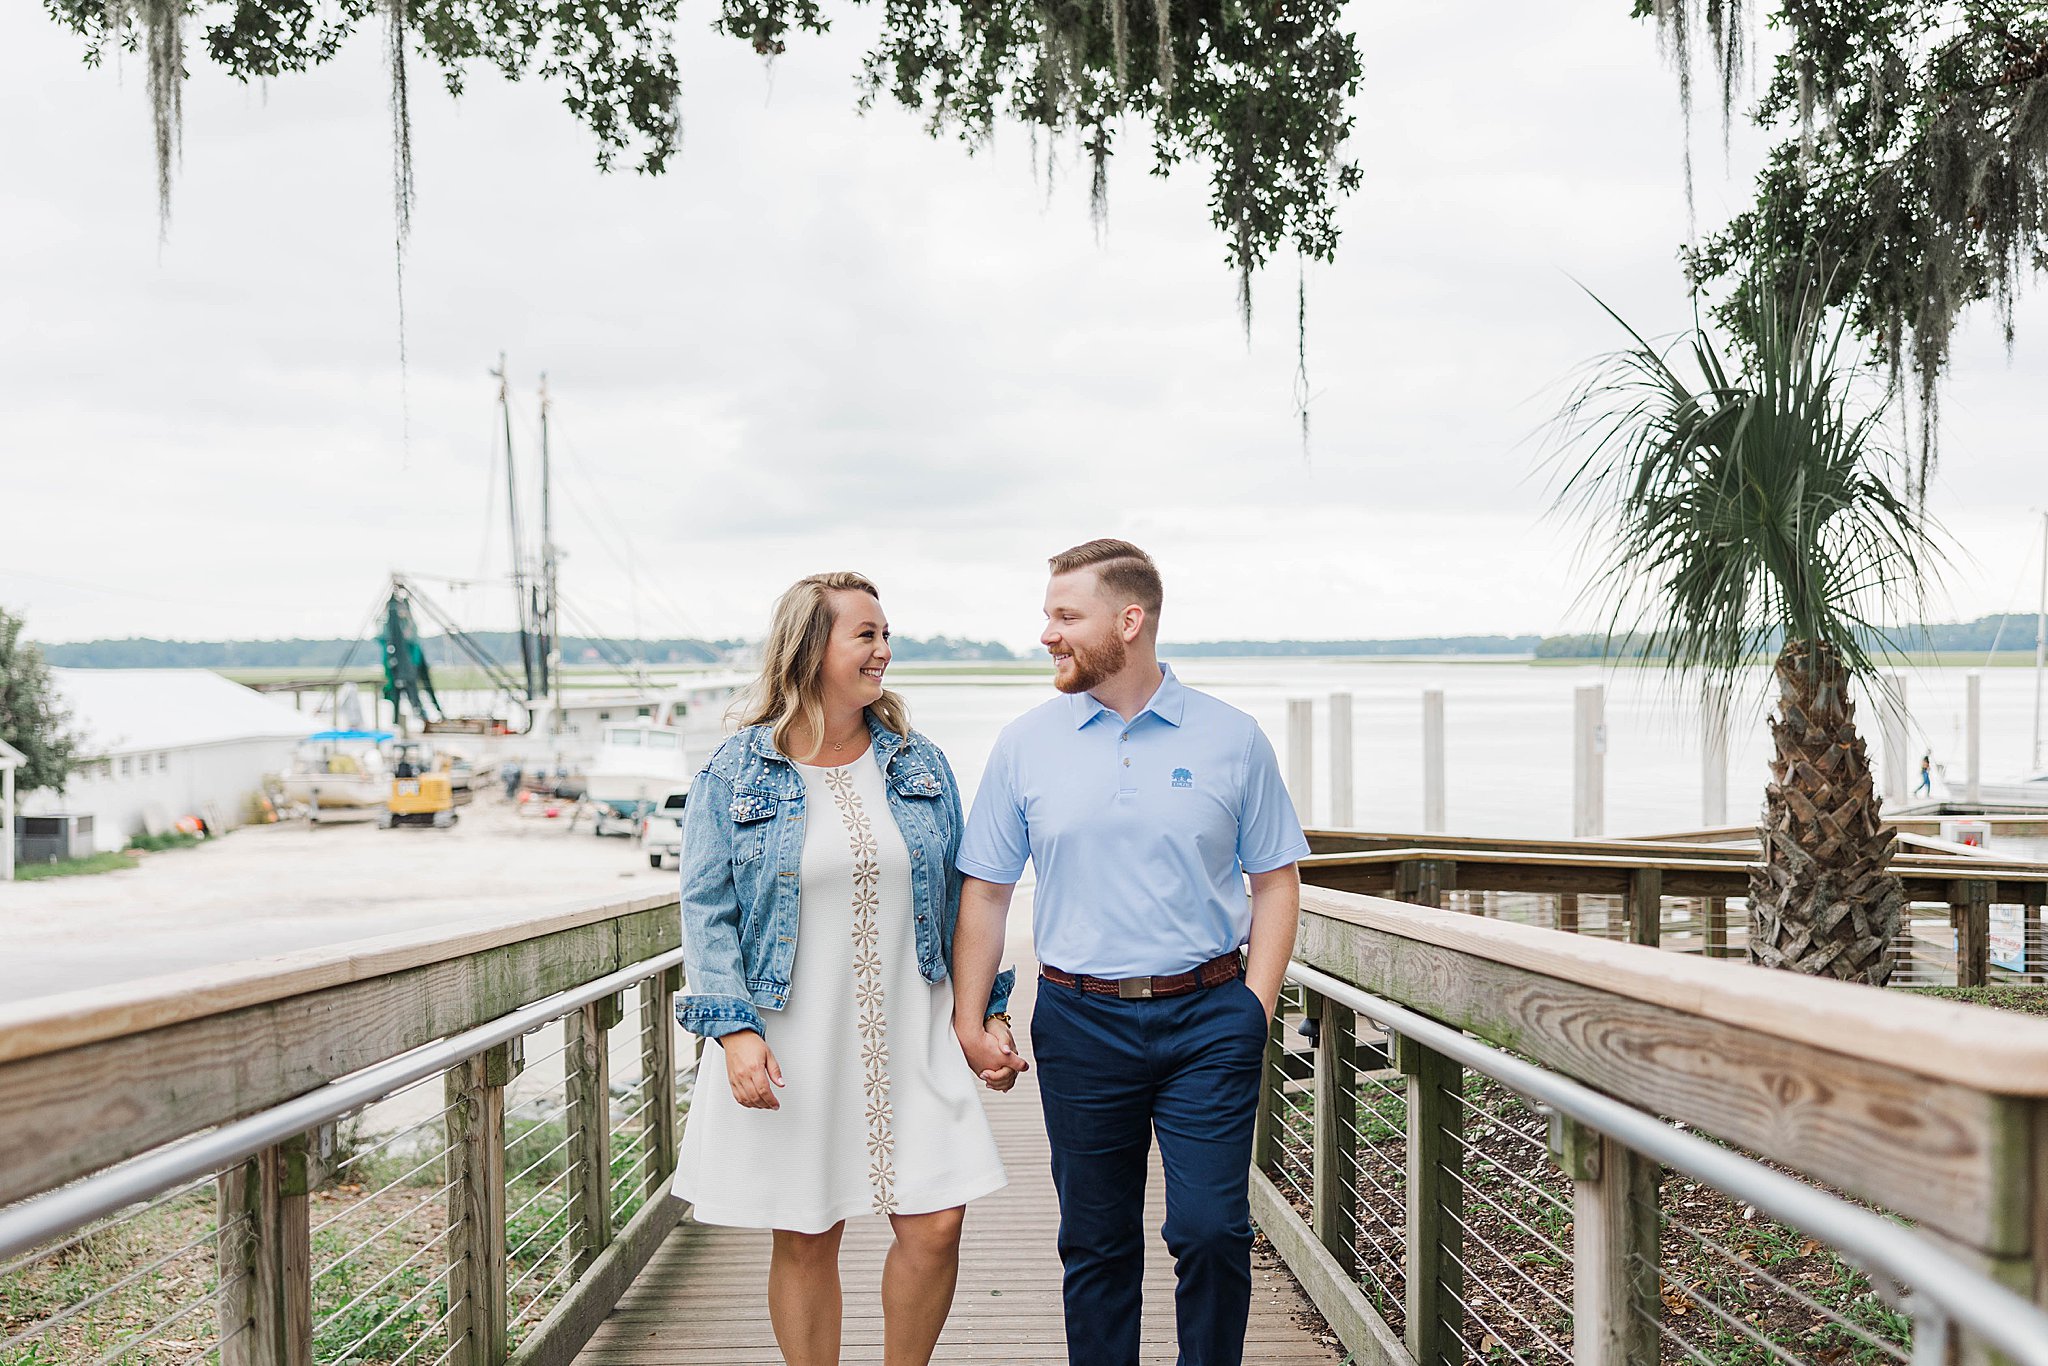
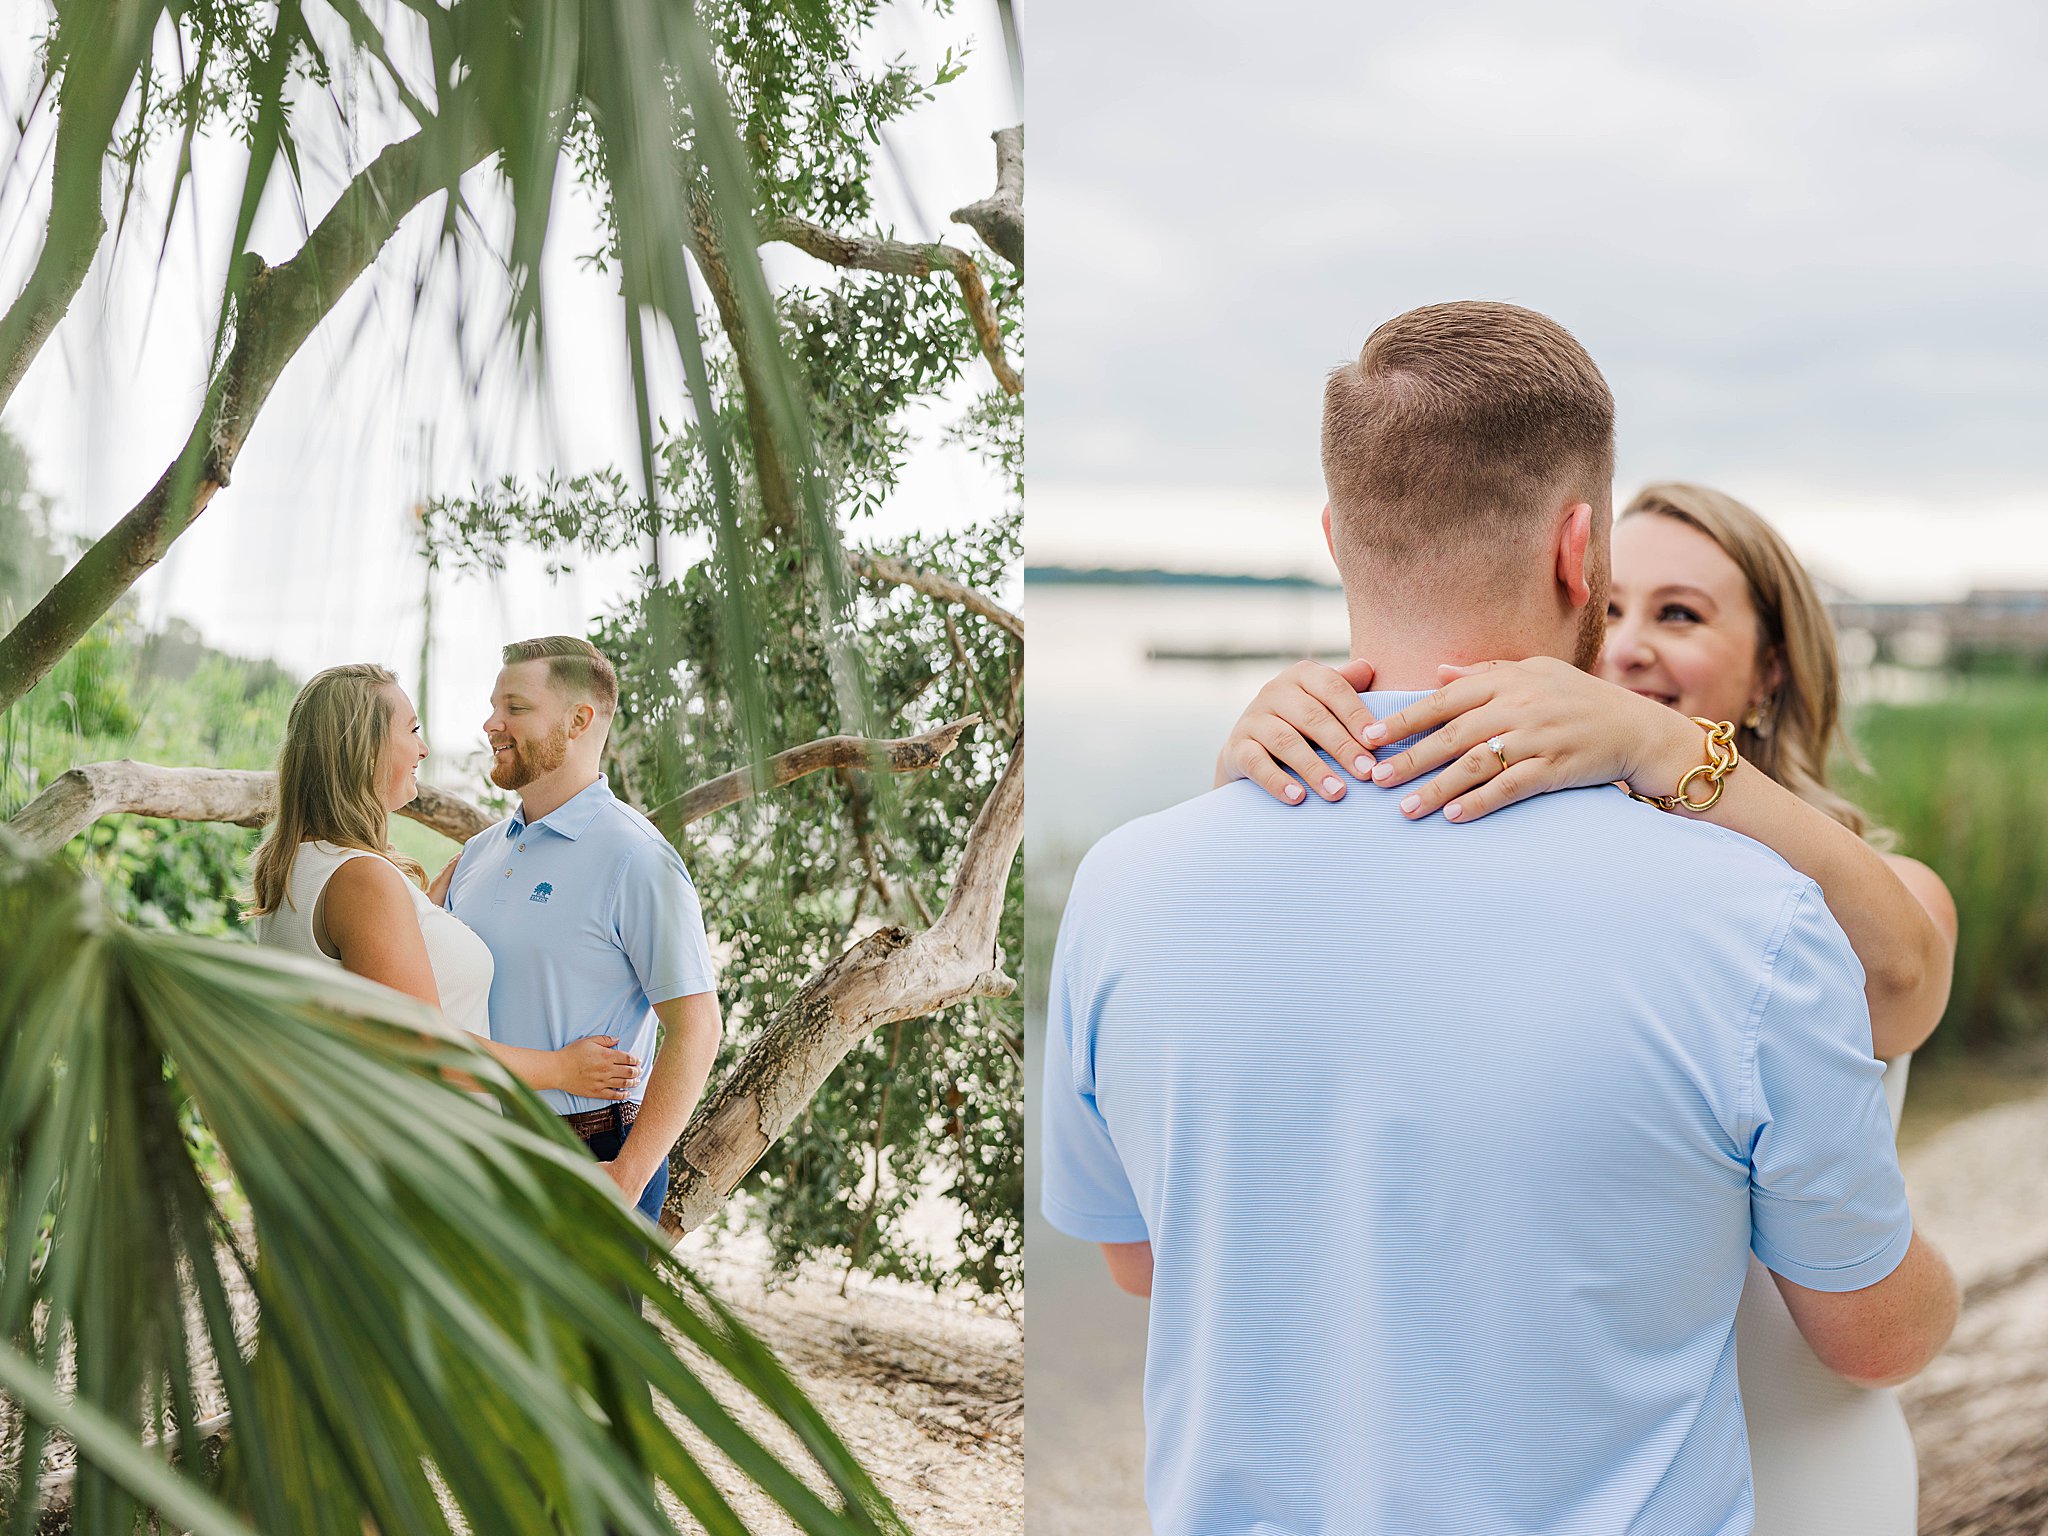
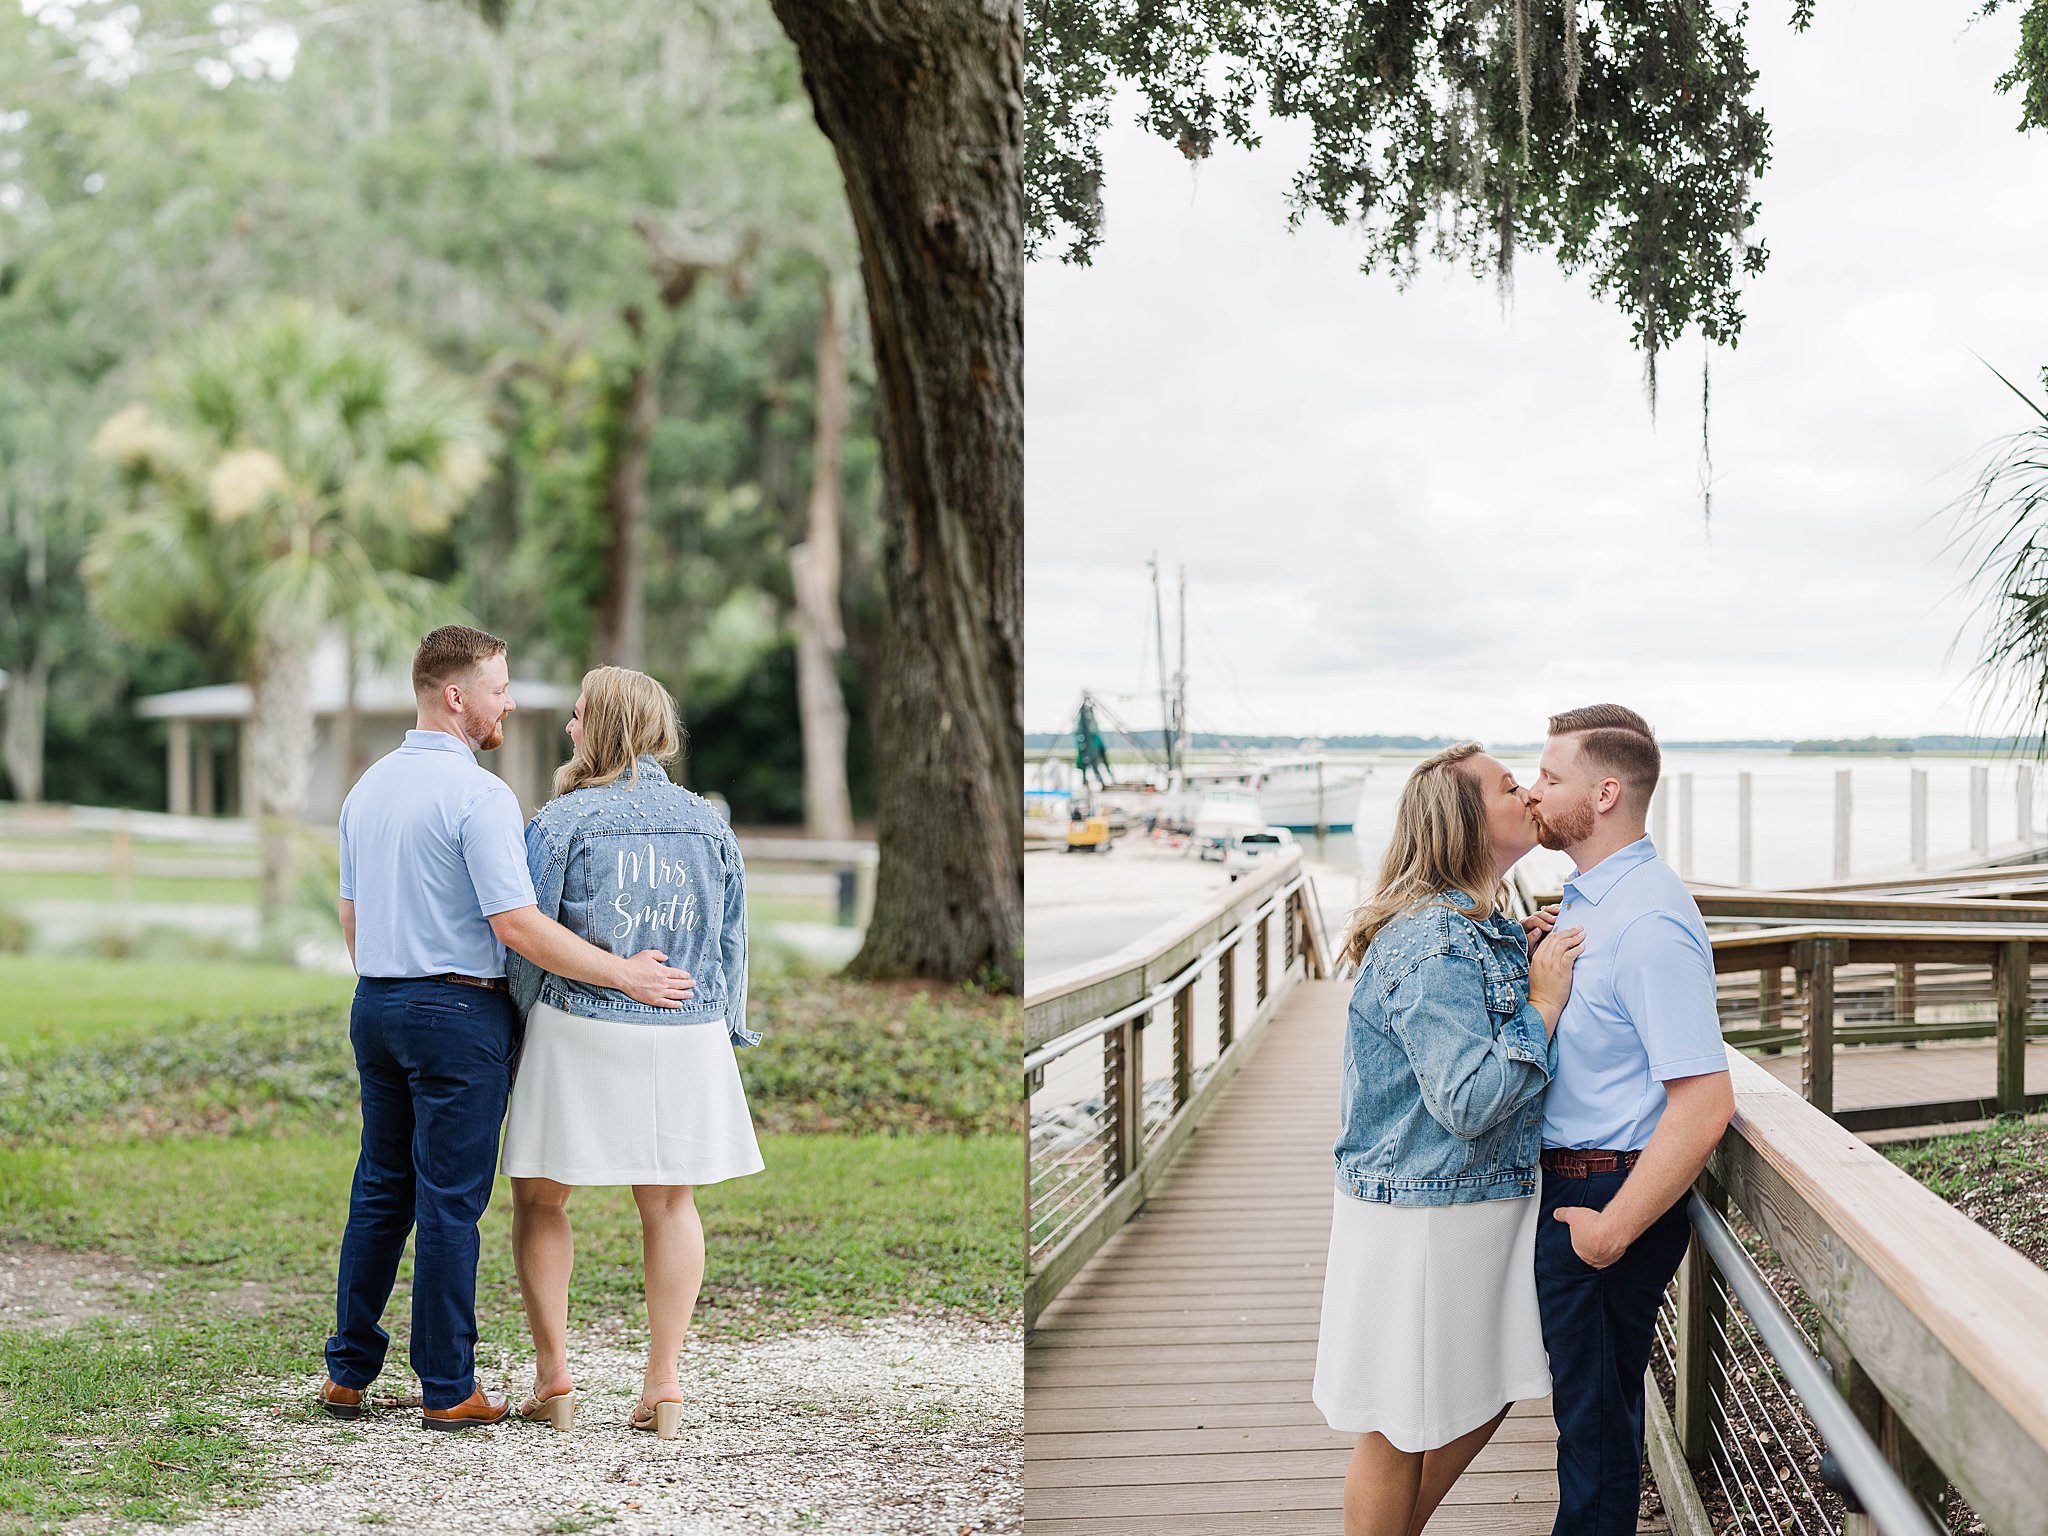
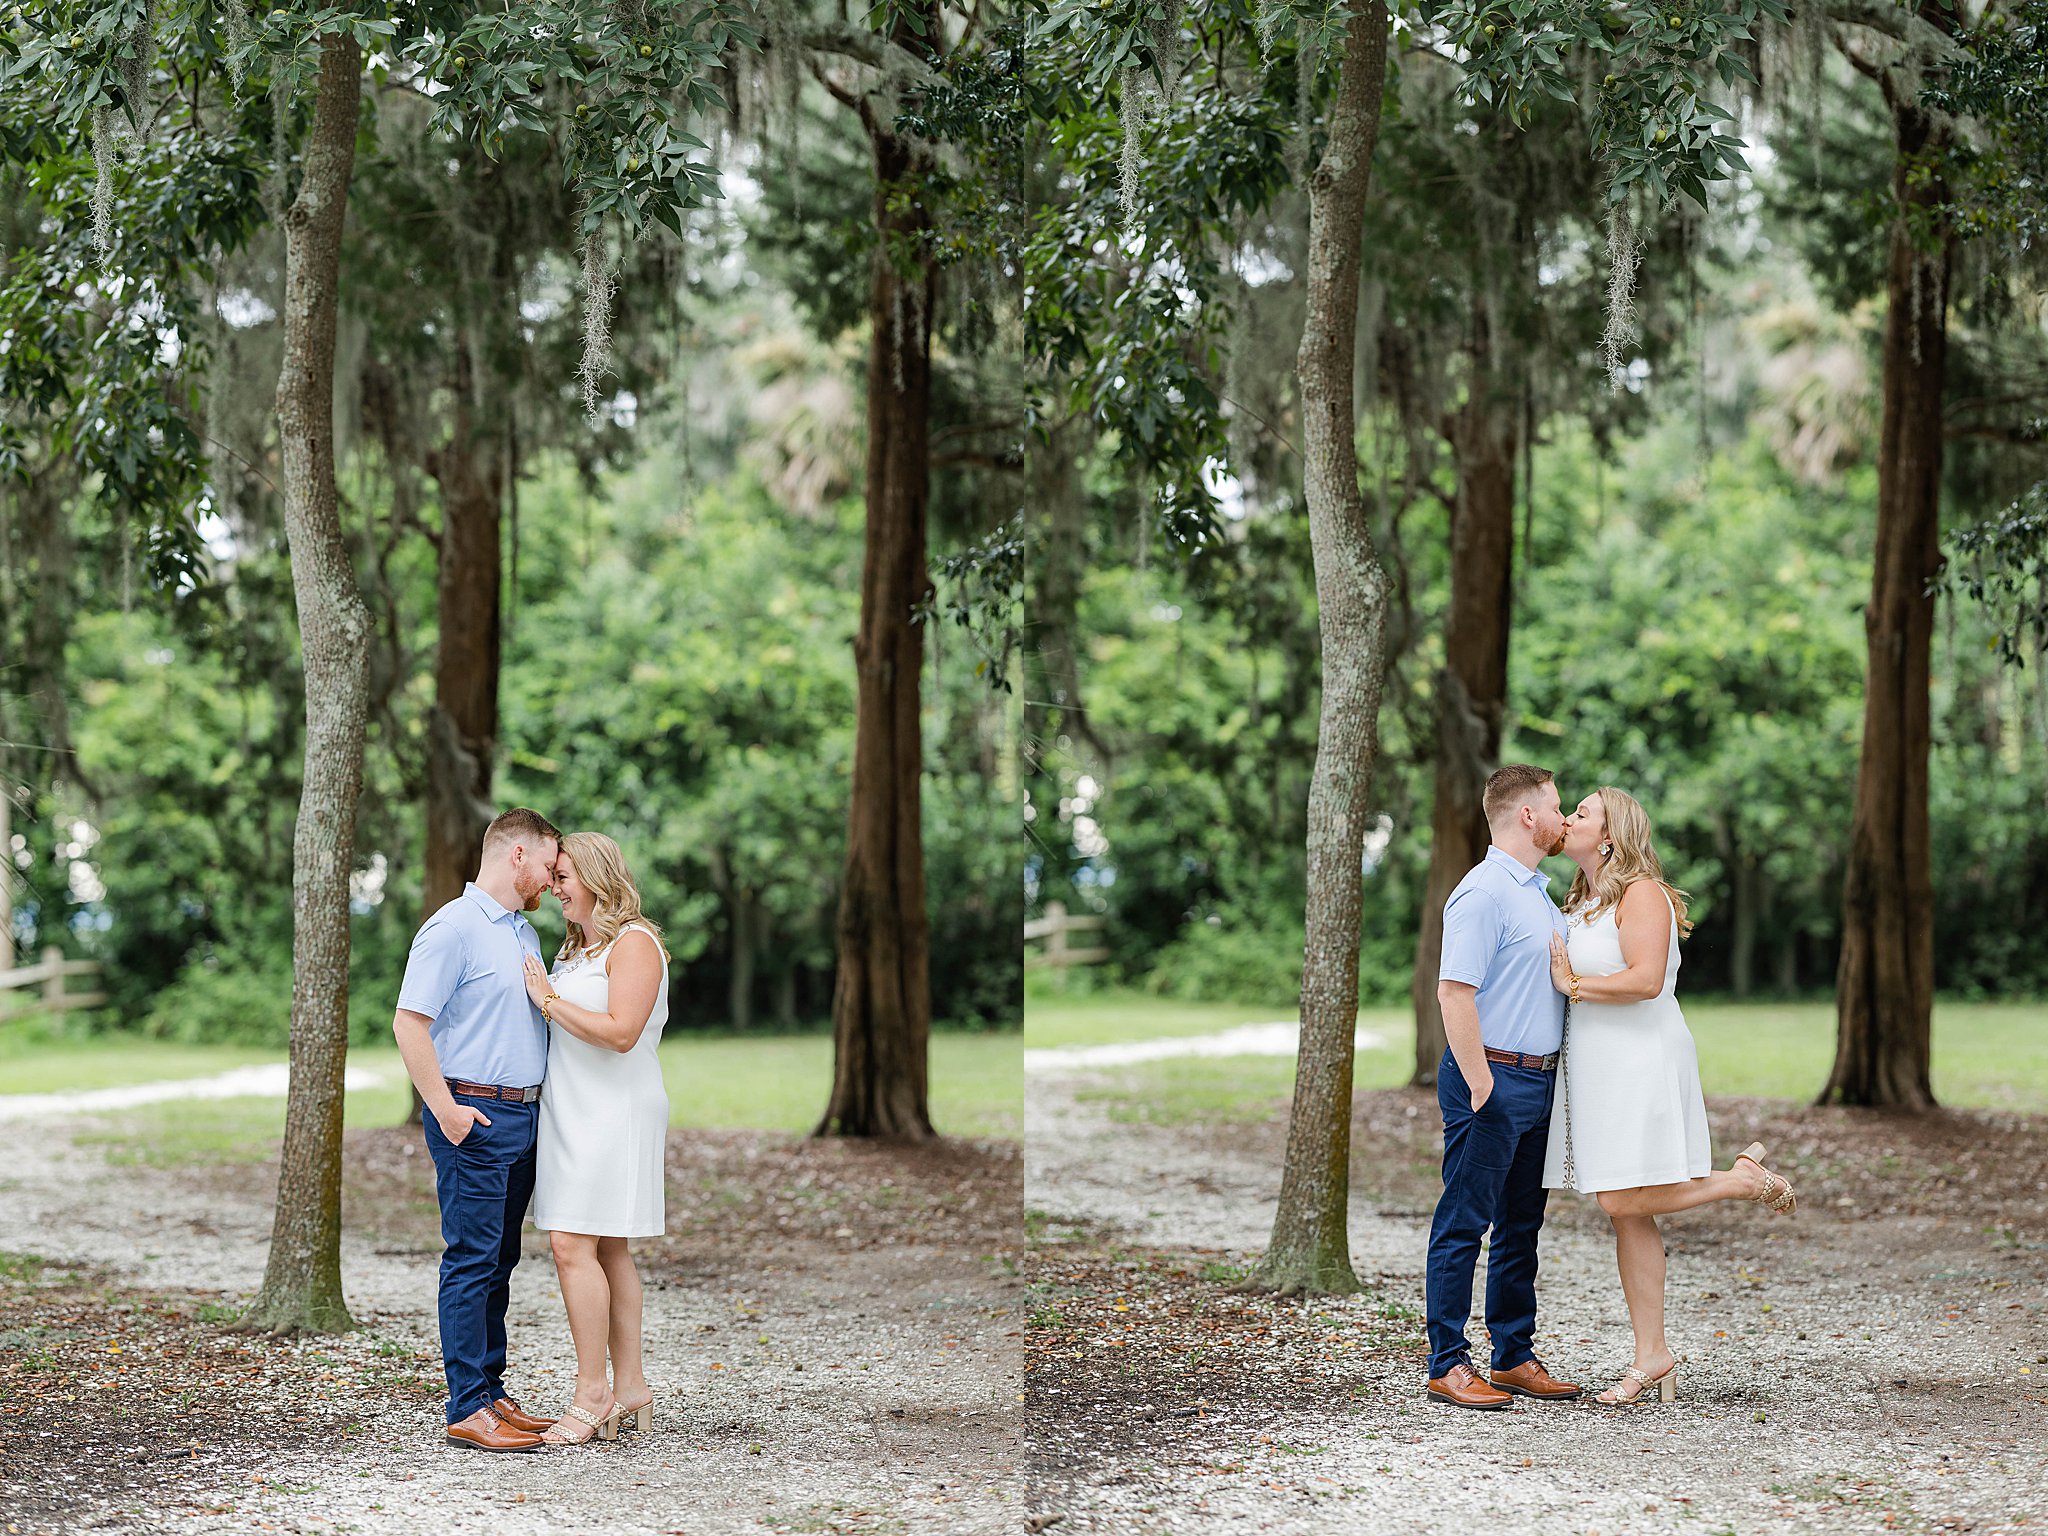
Oyster Factory Park in Old Town Bluffton, SC is the perfect spot for any kind of session. Engagement, Maternity, Senior, Family, even a wedding! (Speaking from experience of course, this is where Mat and I had our own wedding ceremony!)
There’s a long dock, oyster shells, palms, greenery, a walkway, and a quaint little museum we can take pictures in front of.
Read Post